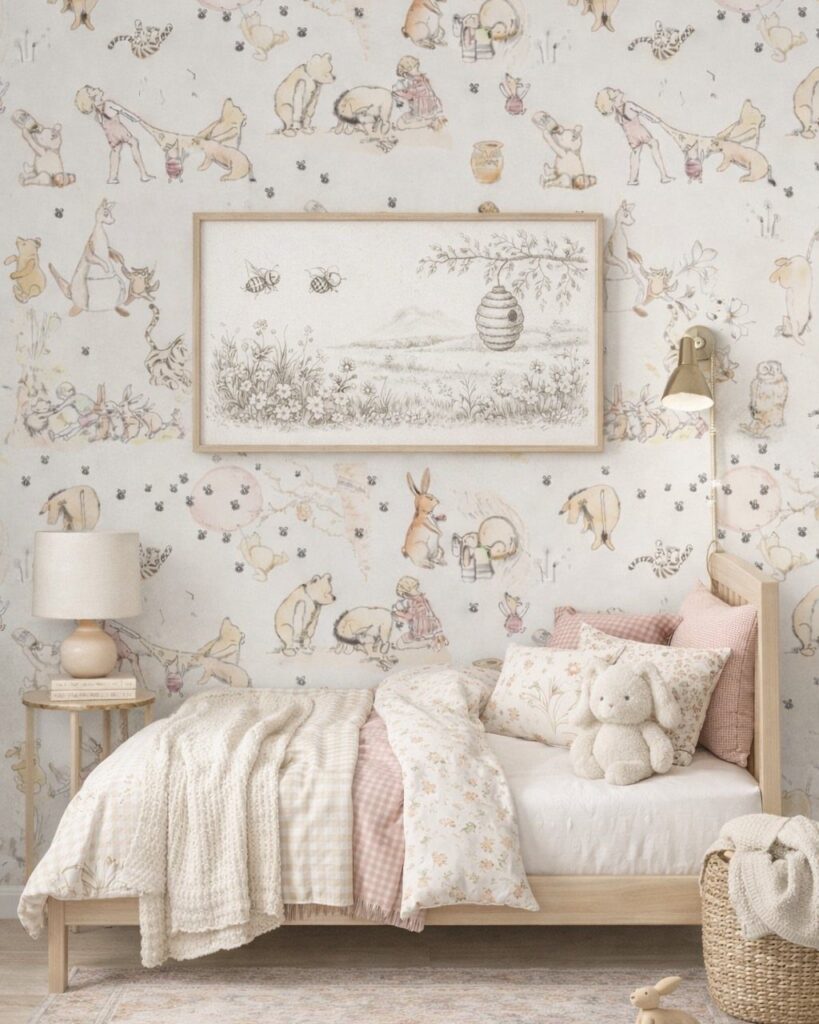
Renters can get the Pooh look from wall decals and bedding without touching a wall, while owners with a free weekend can paint a Hundred Acre Wood mural or make a hand-lettered name sign.
What decides your pick is whether you can paint the walls, because that sorts the ideas into peel-and-stick, removable and permanent.
The best vintage rooms I see use a plain, modern background with Pooh in only a few places, such as a cluster of 5 framed illustrations, one vintage quilt and one plush bear.
1. Framed Vintage Pooh Illustrations
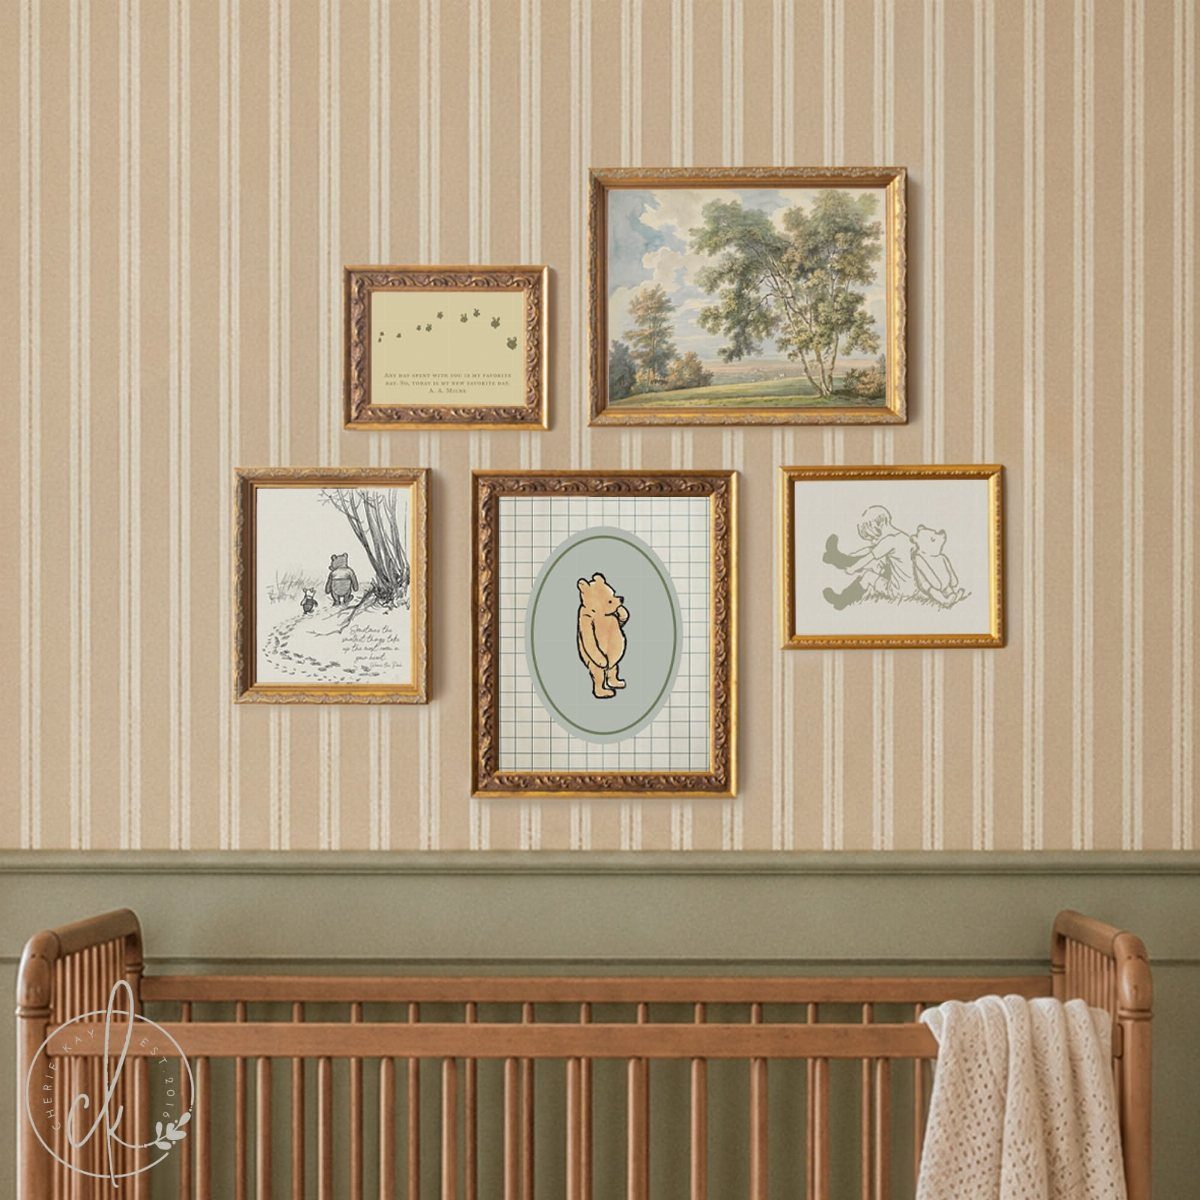
Gold frames against striped wallpaper give a nursery a classic, storybook look, and acrylic instead of glass is the safer choice for any frame that hangs in a baby’s room.
I like a cluster of 5 frames in the same metal finish, since matching frames let you mix different illustrations without the wall looking busy.
Thrift stores and flea markets are good places to find gold frames cheaply, and a coat of gold spray paint evens out ones that don’t match.
2. Gallery Wall of Quotes
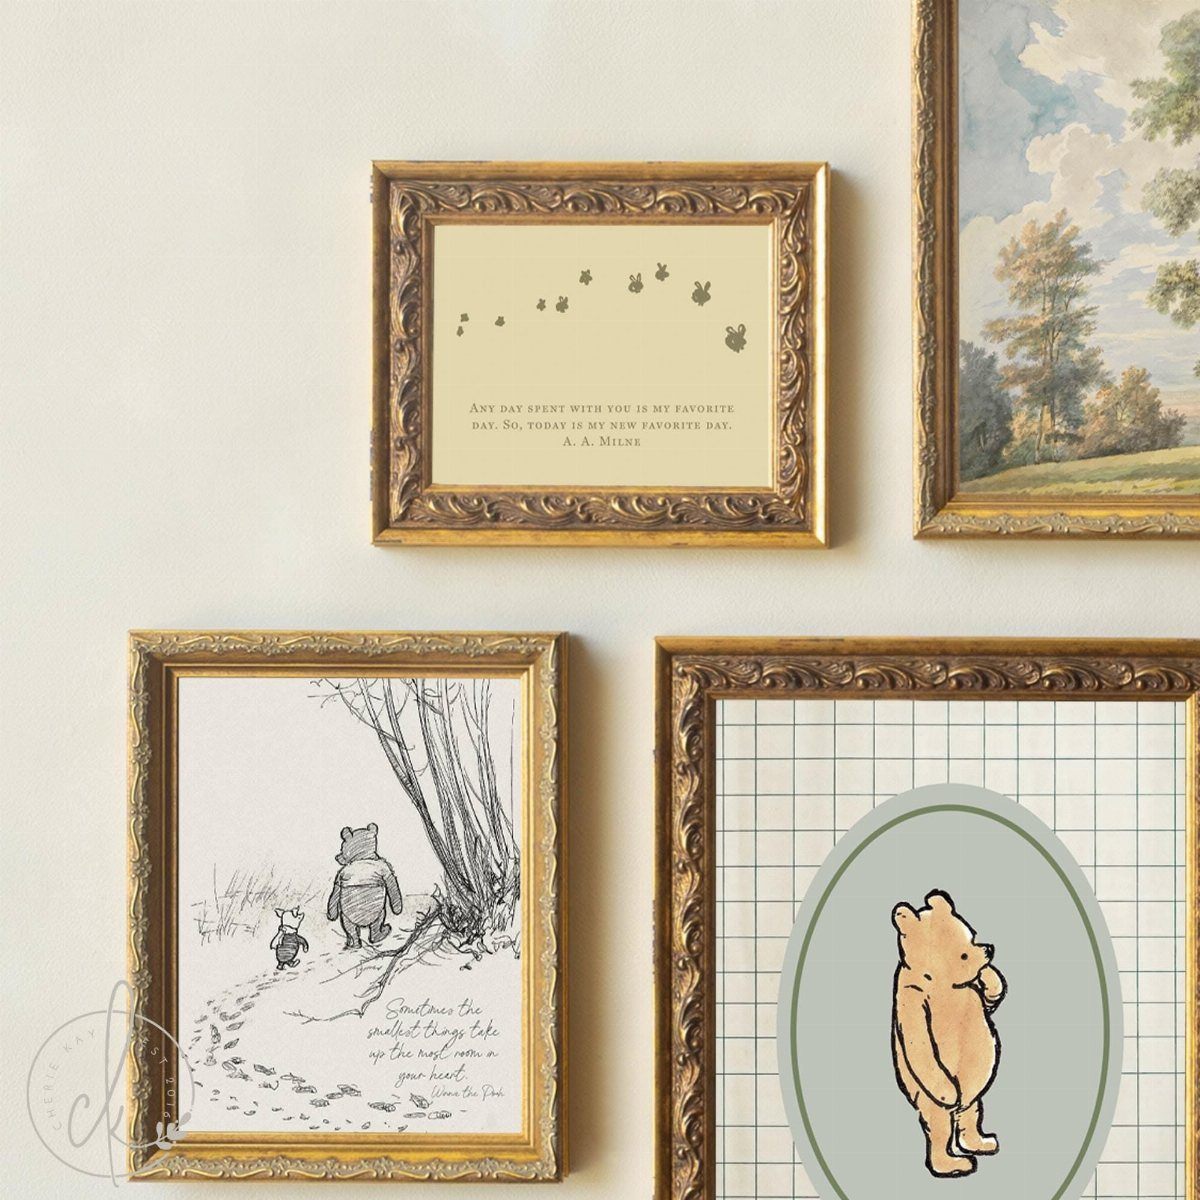
Quotes make a wall feel personal, and pairing a single A.A. Milne line with 2 illustrations is enough to carry a whole corner.
Keep the frames gold and the wall white so the words and drawings do the talking. Mixing shapes helps: an oval frame beside 2 rectangles adds variety without adding clutter.
Print the quote yourself in a serif font on cream paper for a few dollars, then lay all the frames on the floor and arrange them before you drive a single nail.
3. Wooden Furniture Paired with Pooh Decor
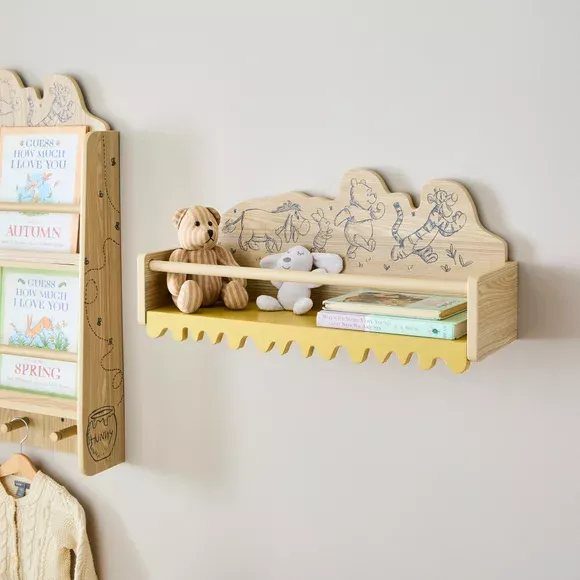
Wooden shelves hold the decor and the books in one place, which suits a nursery where floor space is tight. Wall-mounted ones free up the floor entirely.
I would style them sparsely: a few picture books, one or two plush toys, and a small Pooh piece, rather than filling every inch.
Warm wood keeps the look gentle and classic, and books with their covers facing out add color with no extra spending.
Mount shelves into studs or use proper wall anchors, because books weigh more than they look.
4. Pooh-themed Wall Decals
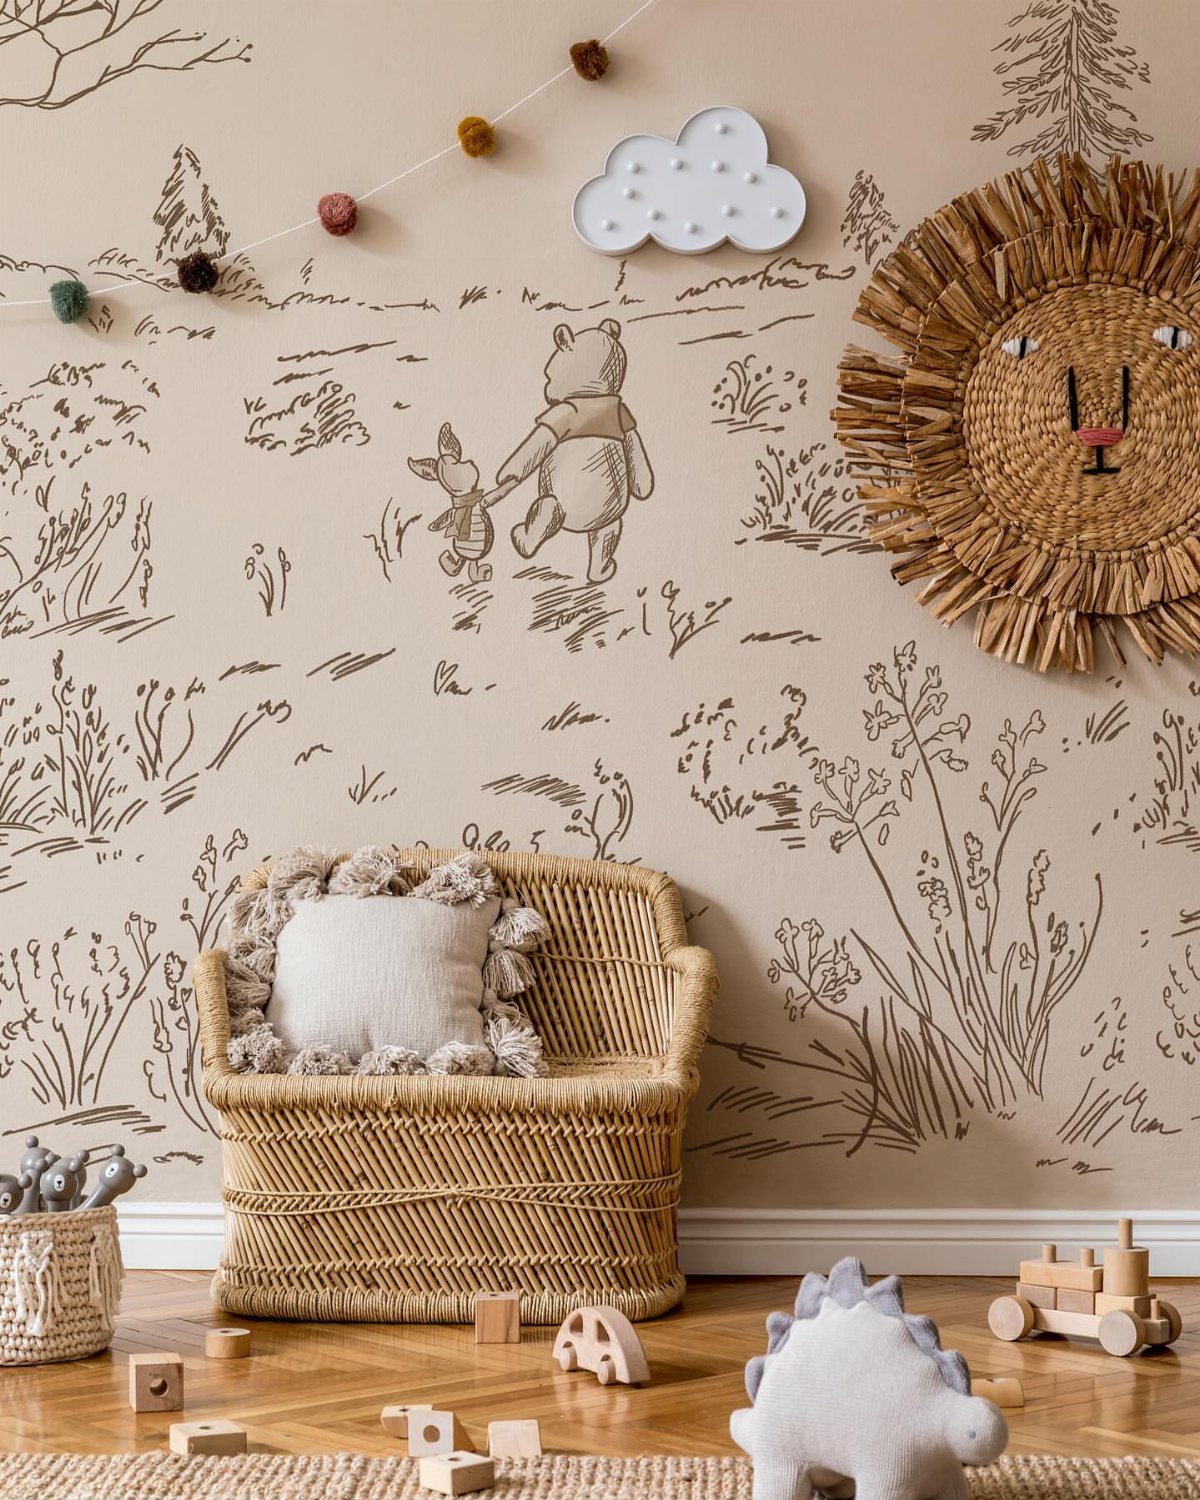
Decals are the easiest way to add Pooh and Piglet to a rental wall, since they go on with no paint and no tools.
A beige or other neutral wall lets the characters stand out, and I would keep them to a small group instead of covering the wall.
Wipe the surface clean first, press from the center outward to push out bubbles, and test a corner before committing.
Placement matters too: set them low enough that a toddler will notice them.
5. Pooh-themed Bedding
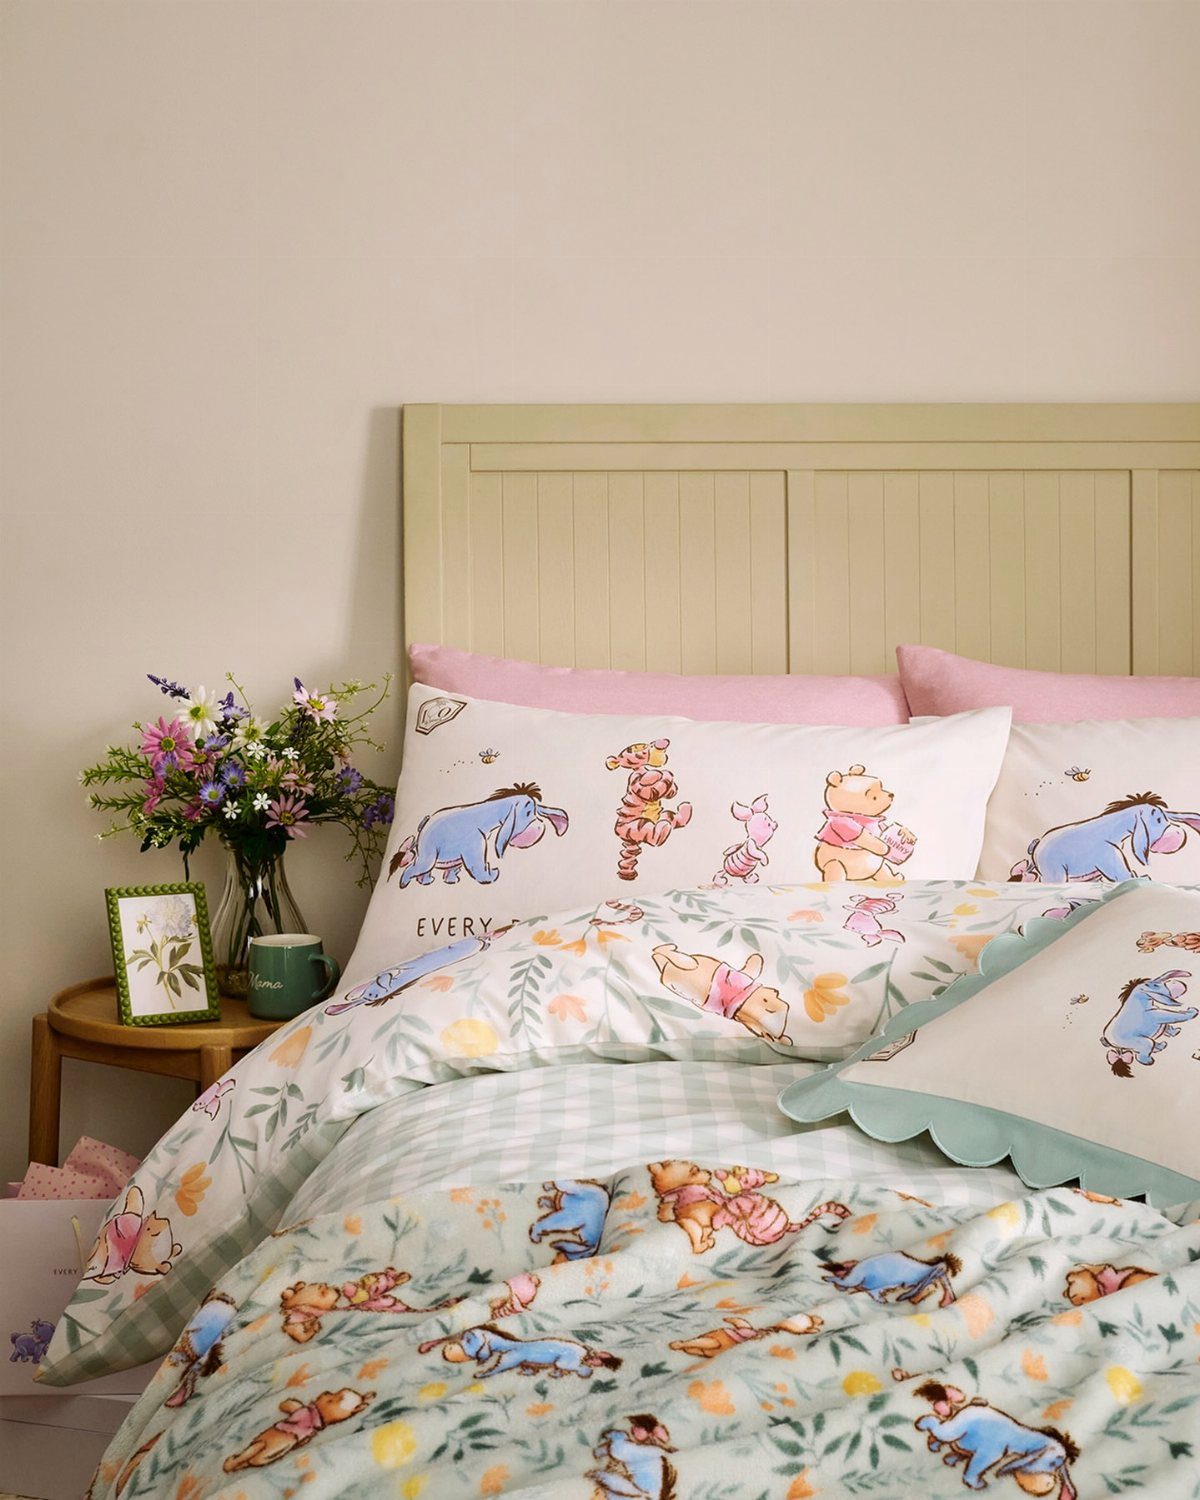
Bedding is the quickest way to bring Pooh into the room, and it can be swapped out whenever the theme gets old.
I would let the printed pieces carry the theme, such as the sheets, a blanket and a set of pillows, and keep the wall color and rug quiet so the room doesn’t feel busy.
A soft green headboard or wall color suggests the woods of the Pooh stories without forcing you to match everything exactly.
Buy two sheet sets so one is always clean, and wash new bedding before first use.
6. Pooh Plush Toys
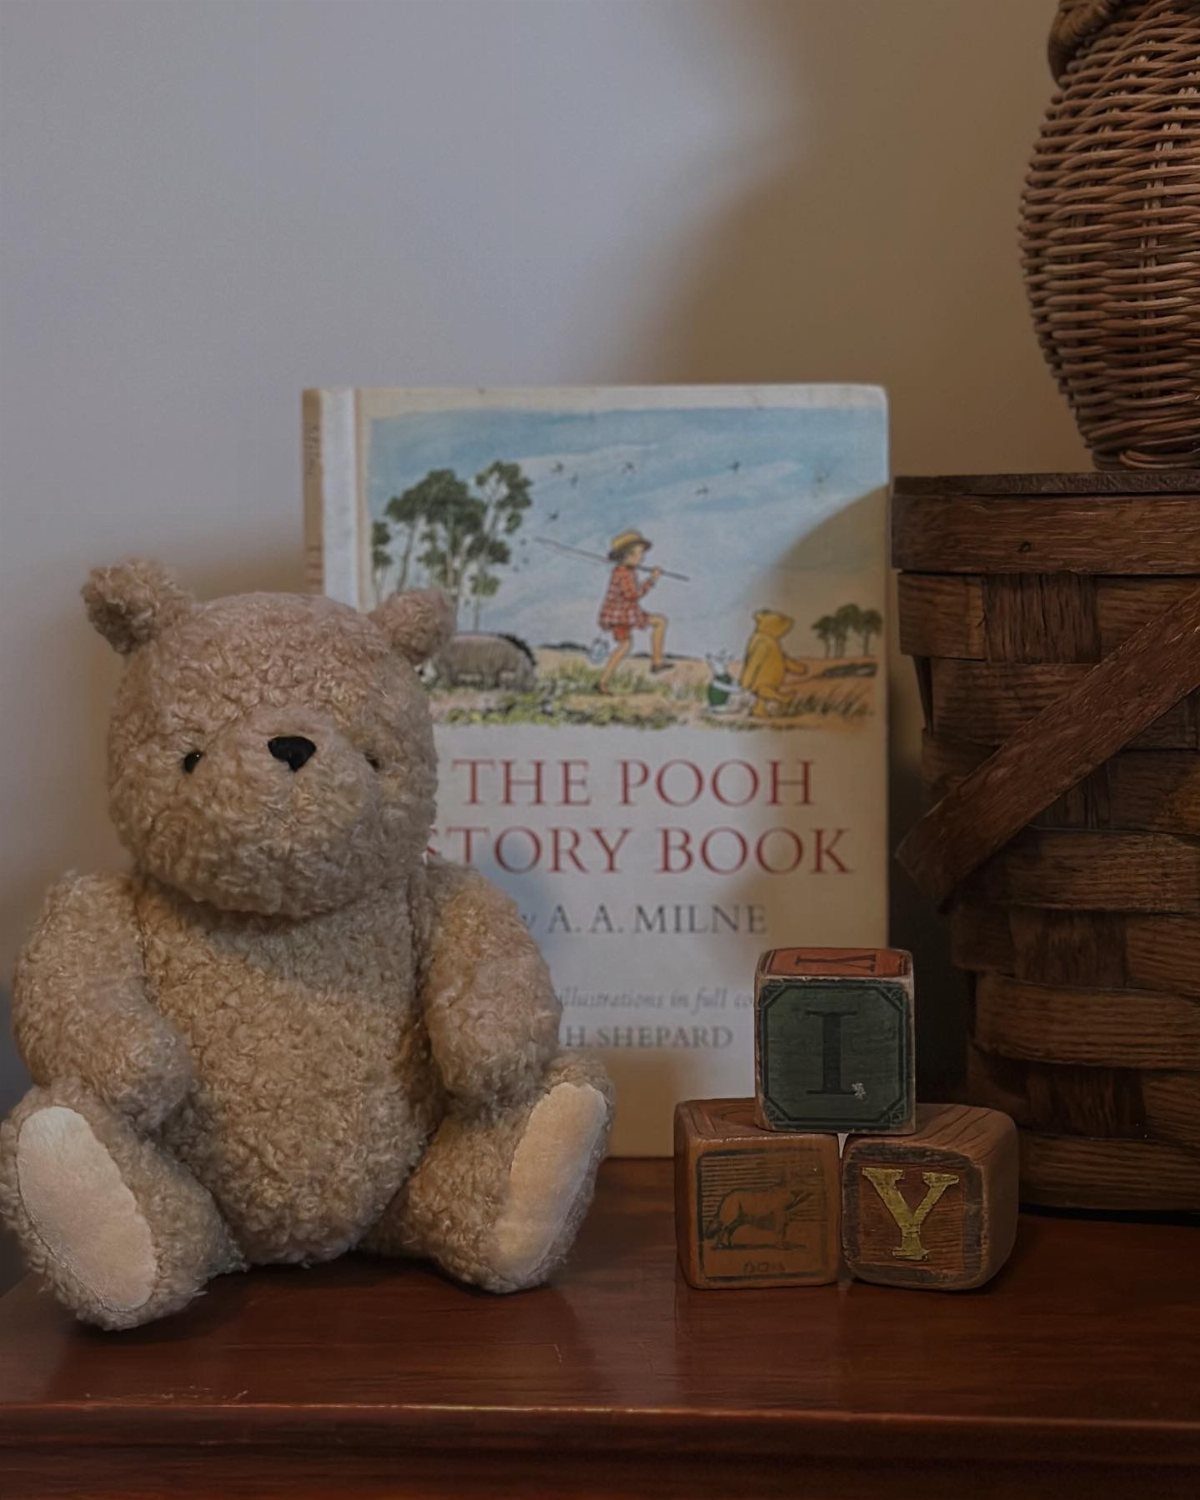
A single tan Pooh bear beside a worn-looking storybook and a few wooden alphabet blocks says "vintage" better than a pile of toys does.
Pick one good bear instead of several, and let it sit on a shelf or dresser as part of the display. Plush is usually the cheapest piece of decor in a Pooh nursery, so a secondhand find works nicely.
Stack the blocks beside the book to add height and a little play value.
7. Wooden Name Signs with Pooh Characters
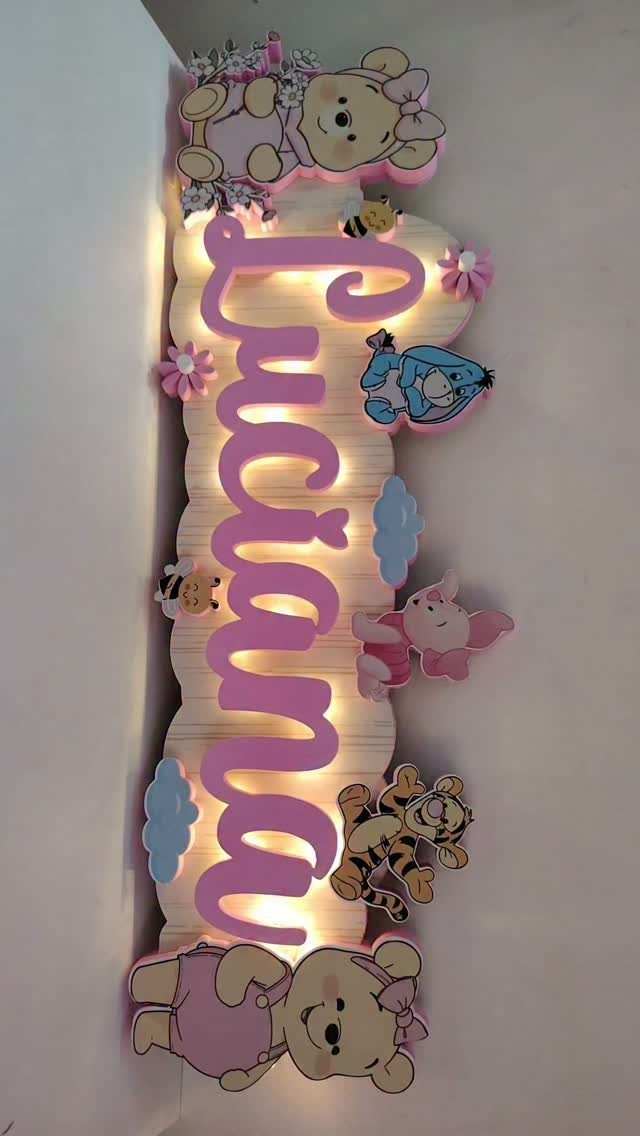
A name sign puts the baby’s name at the center of the room, and the Pooh characters around the letters keep it from feeling like plain lettering.
Hang it above the crib or dresser on a plain wall, where the pink cursive can stand out. I like a sign with a built-in light, since it also works as a night light for 2 a.m. feedings.
Look at the hanging hardware first, and keep the cord well away from the crib.
8. Vintage Quilts
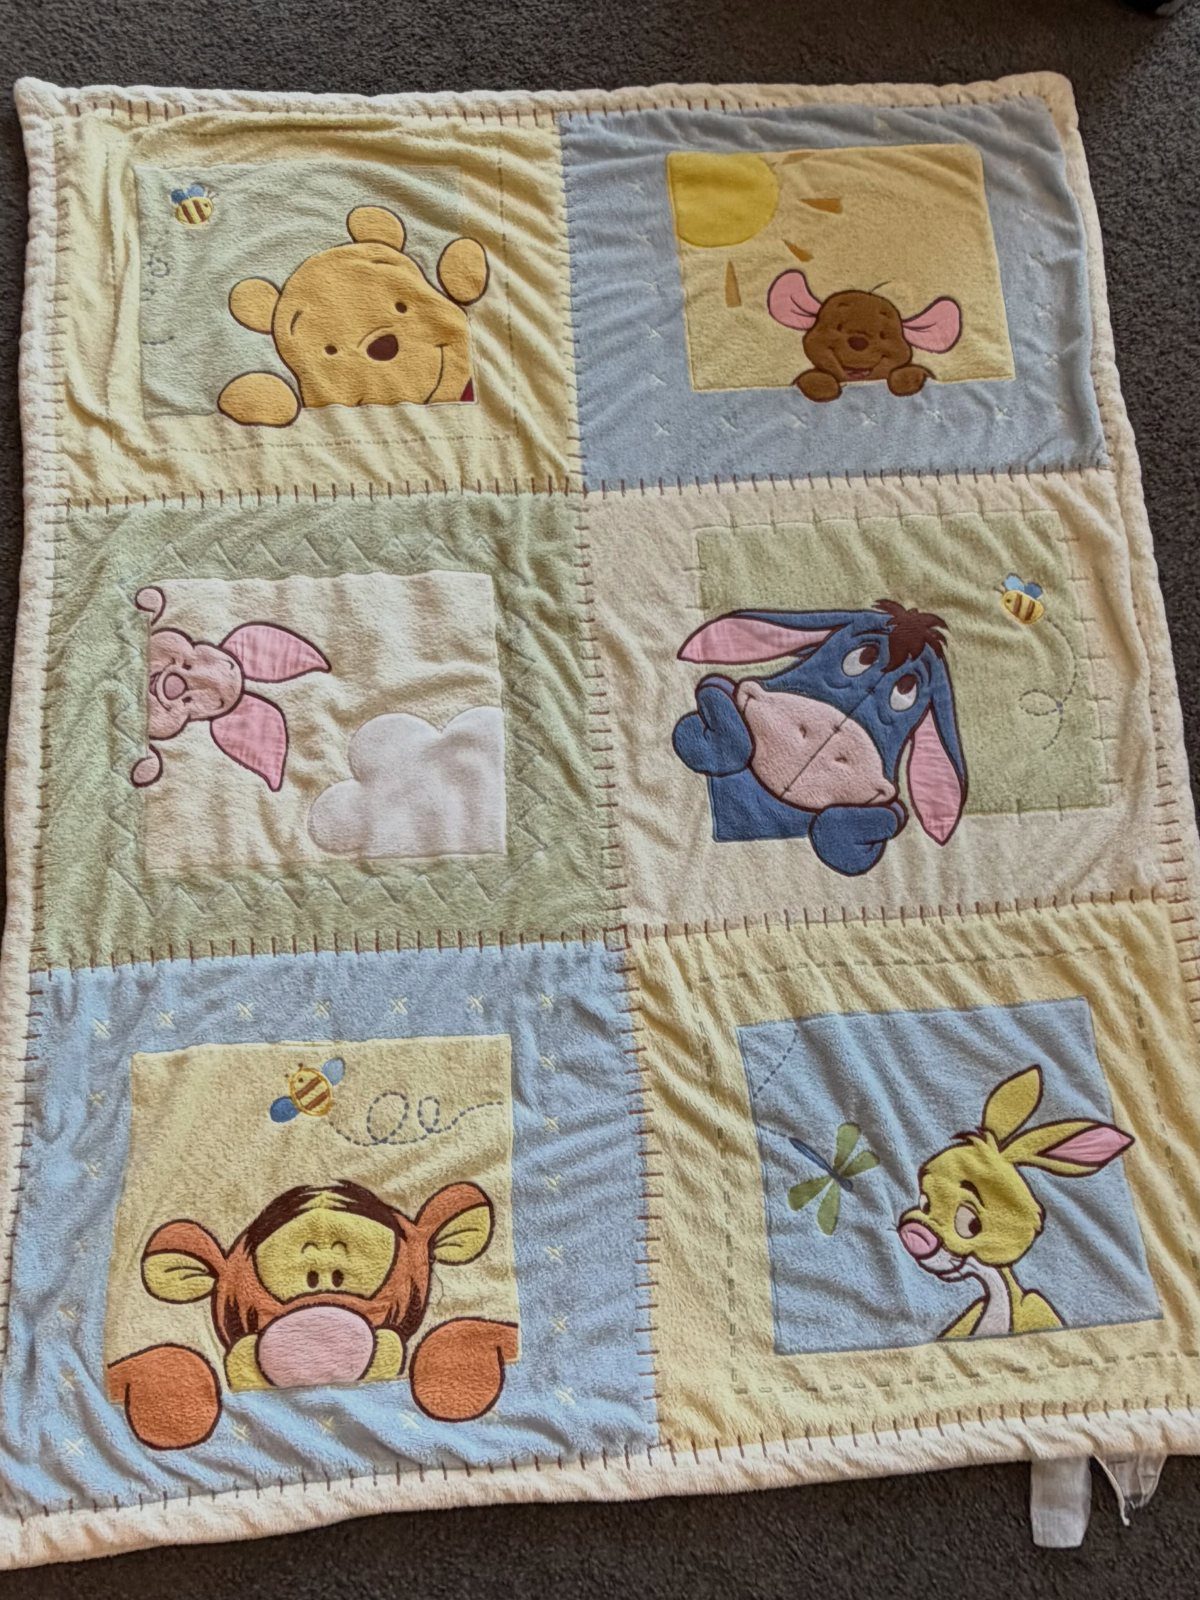
A baby quilt with a different Pooh character in each panel gives the room its most vintage piece. The pastel fabric stays gentle in a nursery, and the panel layout makes it a picture as much as a blanket.
Drape it over a rocking chair instead of tucking it in, and let the room’s other colors pick up one of the pastels.
Secondhand quilts cost less, so wash one on a gentle cycle before it comes near the baby.
9. Mural of Hundred Acre Wood
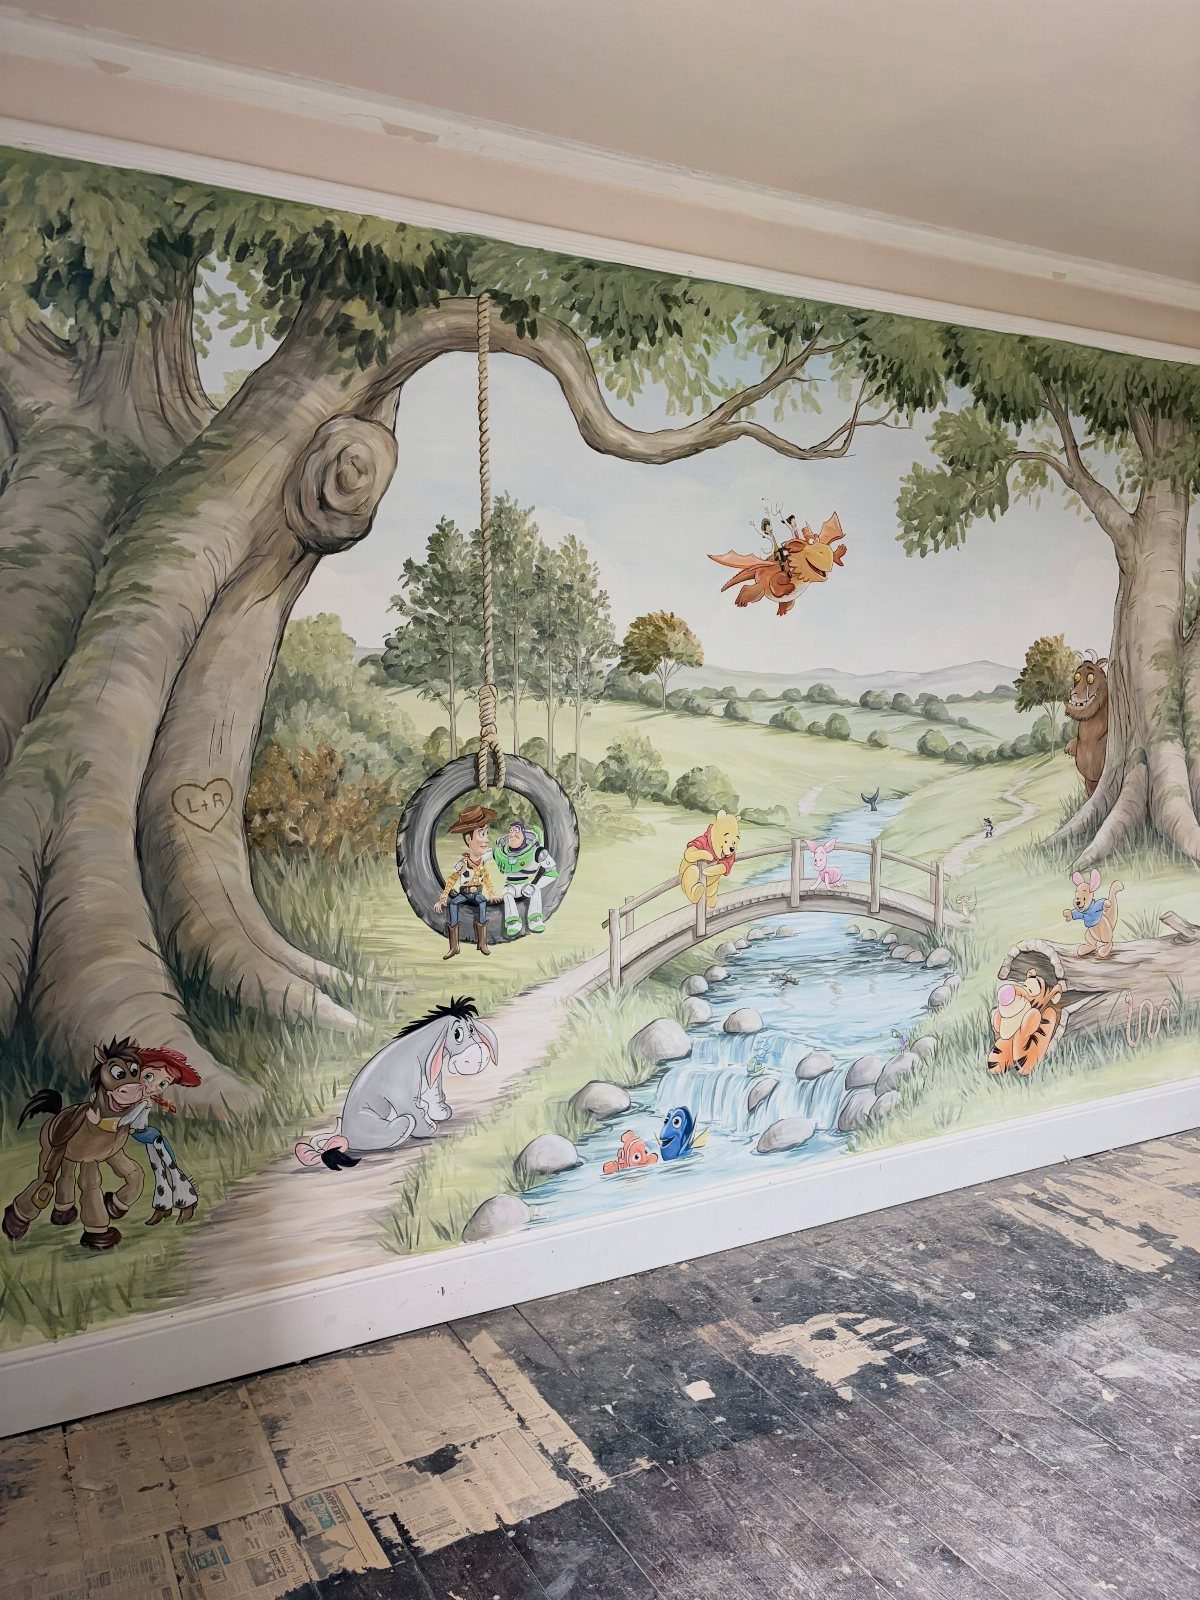
A Hundred Acre Wood mural gives the whole wall to the story: trees, a bridge, a tire swing and the characters all in one scene.
A mural is the boldest move in a nursery, so I would keep everything else in the room quiet.
Pick one wall, preferably behind the crib or a play corner, and leave the other three plain. Painting freehand takes a steady hand, so a rental may call for a wall-sized removable mural instead.
Plan on a full weekend for the painting.
Color Schemes for Decor
Soft yellow, sage green and creamy neutrals keep a Pooh nursery calm, and the easiest way to use them is to give each color a job.
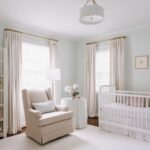
Let cream or warm white cover the biggest surfaces, such as walls and the crib, then bring in yellow through curtains and bedding.
A white crib with yellow curtains and a white faux-fur rug is a combination I would copy as is. Beiges and warm taupes work as the quiet middle layer between the brighter pieces.
If you start with a wood crib, yellow and blue bedding can work, but pick one shade of each and repeat it in the rug or border so the room reads as planned.
Skip bright primary colors, which push the room away from the muted vintage feel.
Mixing Vintage and Modern
Vintage Pooh looks best when the background is plain and modern: a clean-lined dresser, a simple crib and a neutral rug let the old-style characters stand out instead of crowding the room.
Honey-toned accents against beige furniture and cream textiles give the room warmth without adding another theme. A green patterned rug is a good place for a modern pattern, since it echoes the forest colors without repeating the characters.
Limit Pooh to a few places, such as the art, one quilt and one plush. The rest of the room can stay current, and it will be easier to update as your child grows.
DIY Decor Ideas
A hand-painted sign is a good first project. Use a wood plaque or a plain board, pencil your letters lightly first, then fill them in with acrylic paint in honey yellow or soft green.
Custom artwork doesn’t need drawing skill. Trace a simple shape, such as a honey pot or a balloon, onto canvas and paint it flat, without shading.
Practice on scrap paper before touching the final piece, and let each coat dry fully before adding the next.
Seal the finished piece with a clear, low-odor, water-based sealer, and let it air out before it goes in the baby’s room.