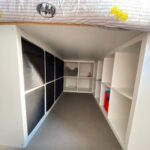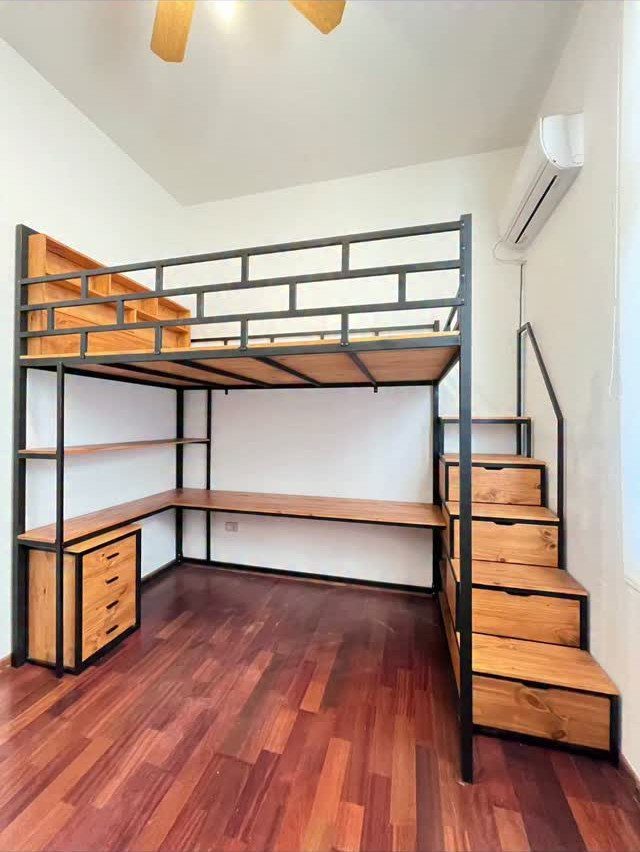
Floor space decides which of these builds fits your room: a narrow kids’ room suits a ladder, while a bigger room can handle the wooden staircase version, where each step can hide a drawer or a cabinet.
Whichever you pick, the railing is the one part that can’t be skimped.
1. Adding Storage
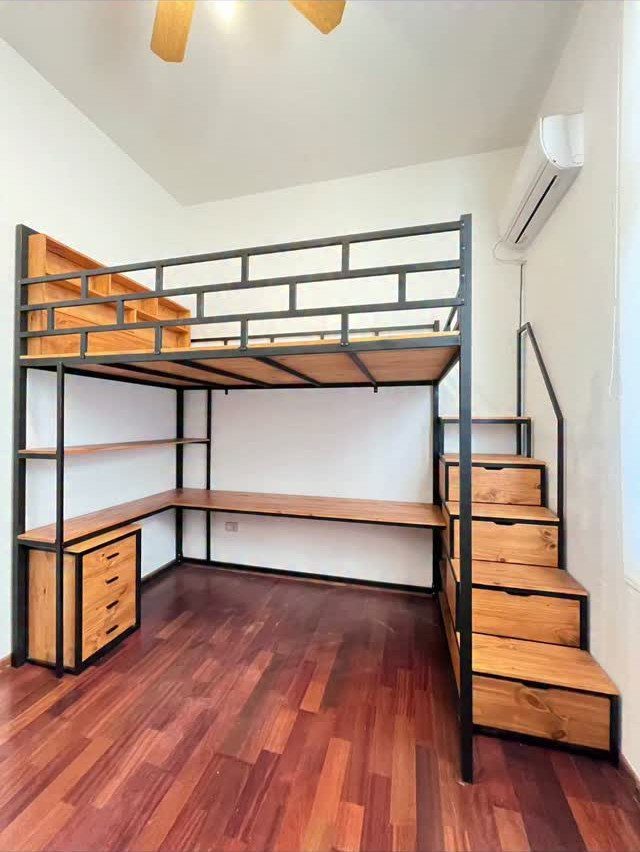
Stair drawers turn dead space into a dresser. Each riser becomes a pull-out box, so the steps carry socks, shirts and bedding without taking any floor area.
In a small room, that matters more than a fancy finish. If I were building this, I’d size the drawers to the stair depth first, then pick the desk to match the frame.
Full drawers add real weight to the steps, so build the staircase with solid 2×4 framing and not thin plywood boxes alone.
2. Building a Ladder
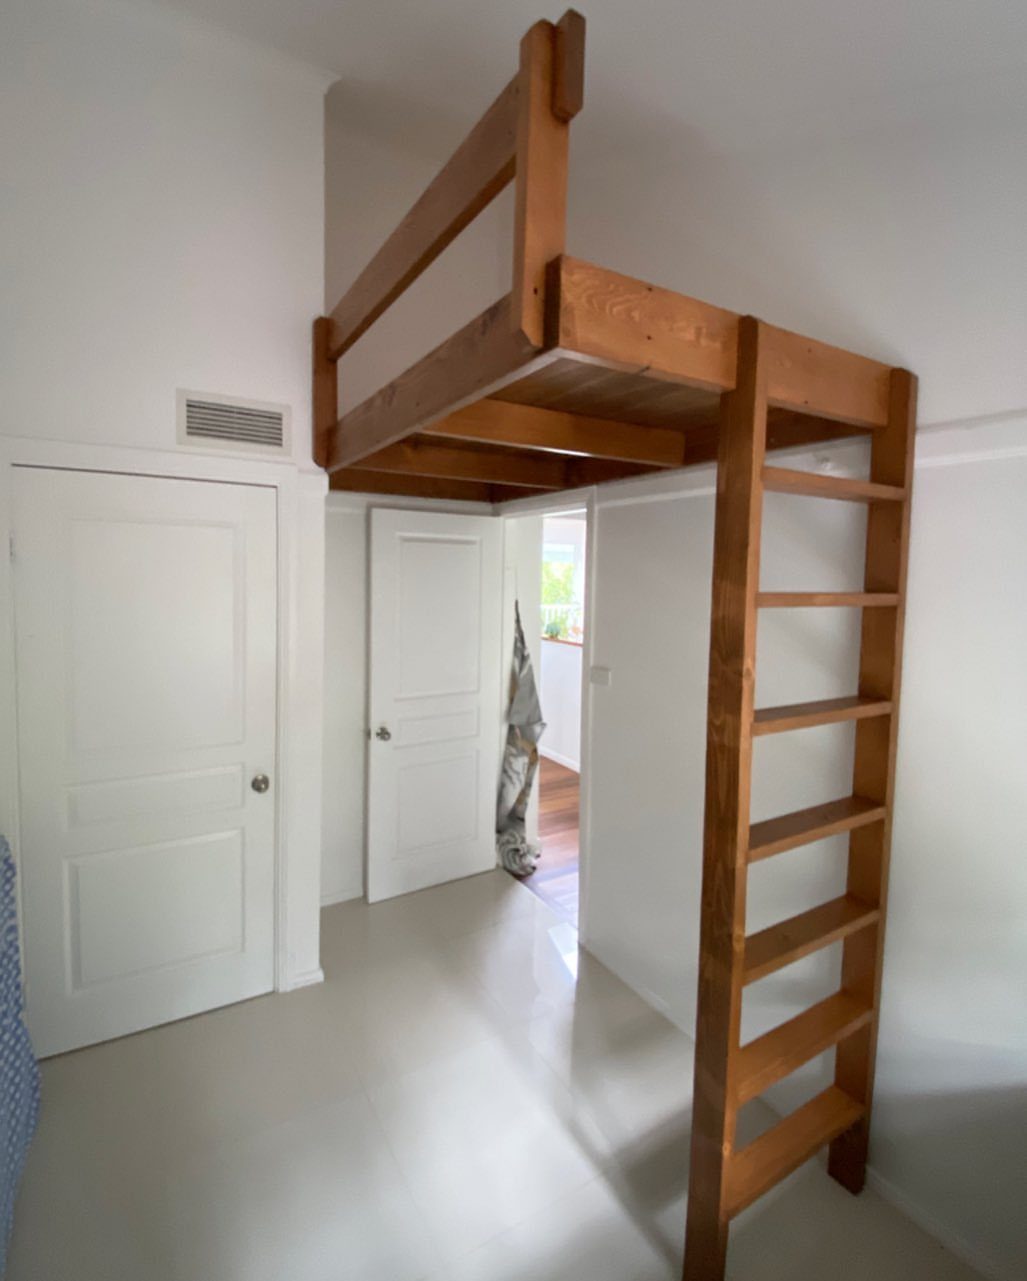
A ladder built into the frame keeps the footprint small, which suits a narrow kids’ room better than a staircase does. Fixing it to the bed’s own posts means no extra legs and no wobble from a separate piece.
I prefer a ladder made from the same wood as the frame, so it reads as one build instead of an add-on. Sand the rungs well, since bare feet use them every day.
Choose a ladder over stairs when floor space is the bigger problem.
3. Trim and Railing
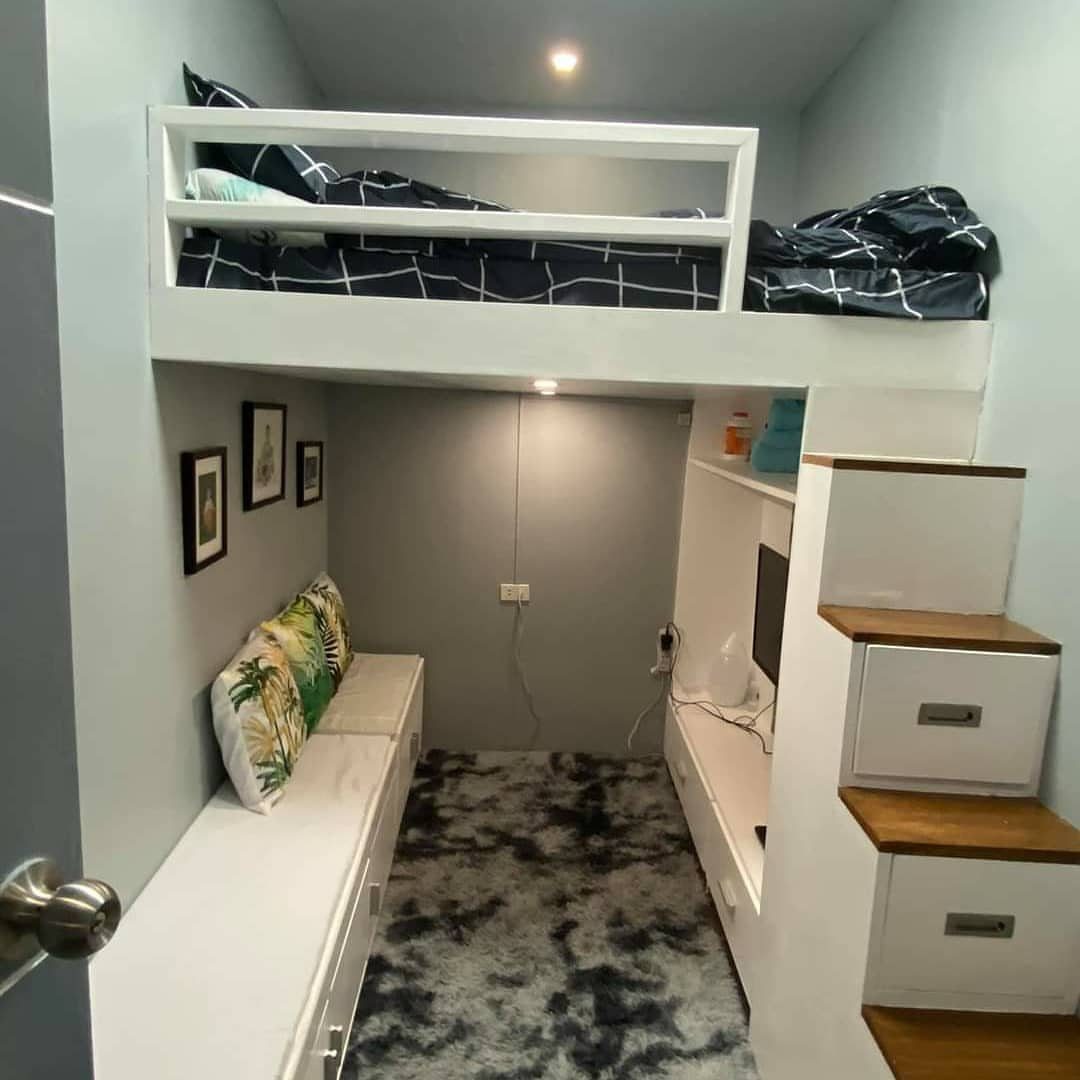
Railing is the part of a loft bed you can’t skimp on, and trim is what makes it look finished.
Closing the gaps and rounding the edges takes a plain box frame and gives it the clean look of a store-bought bed.
Caulk the seams before painting.
Keep the rail solid and tall enough that a sleeper can’t roll over it.
4. Painting
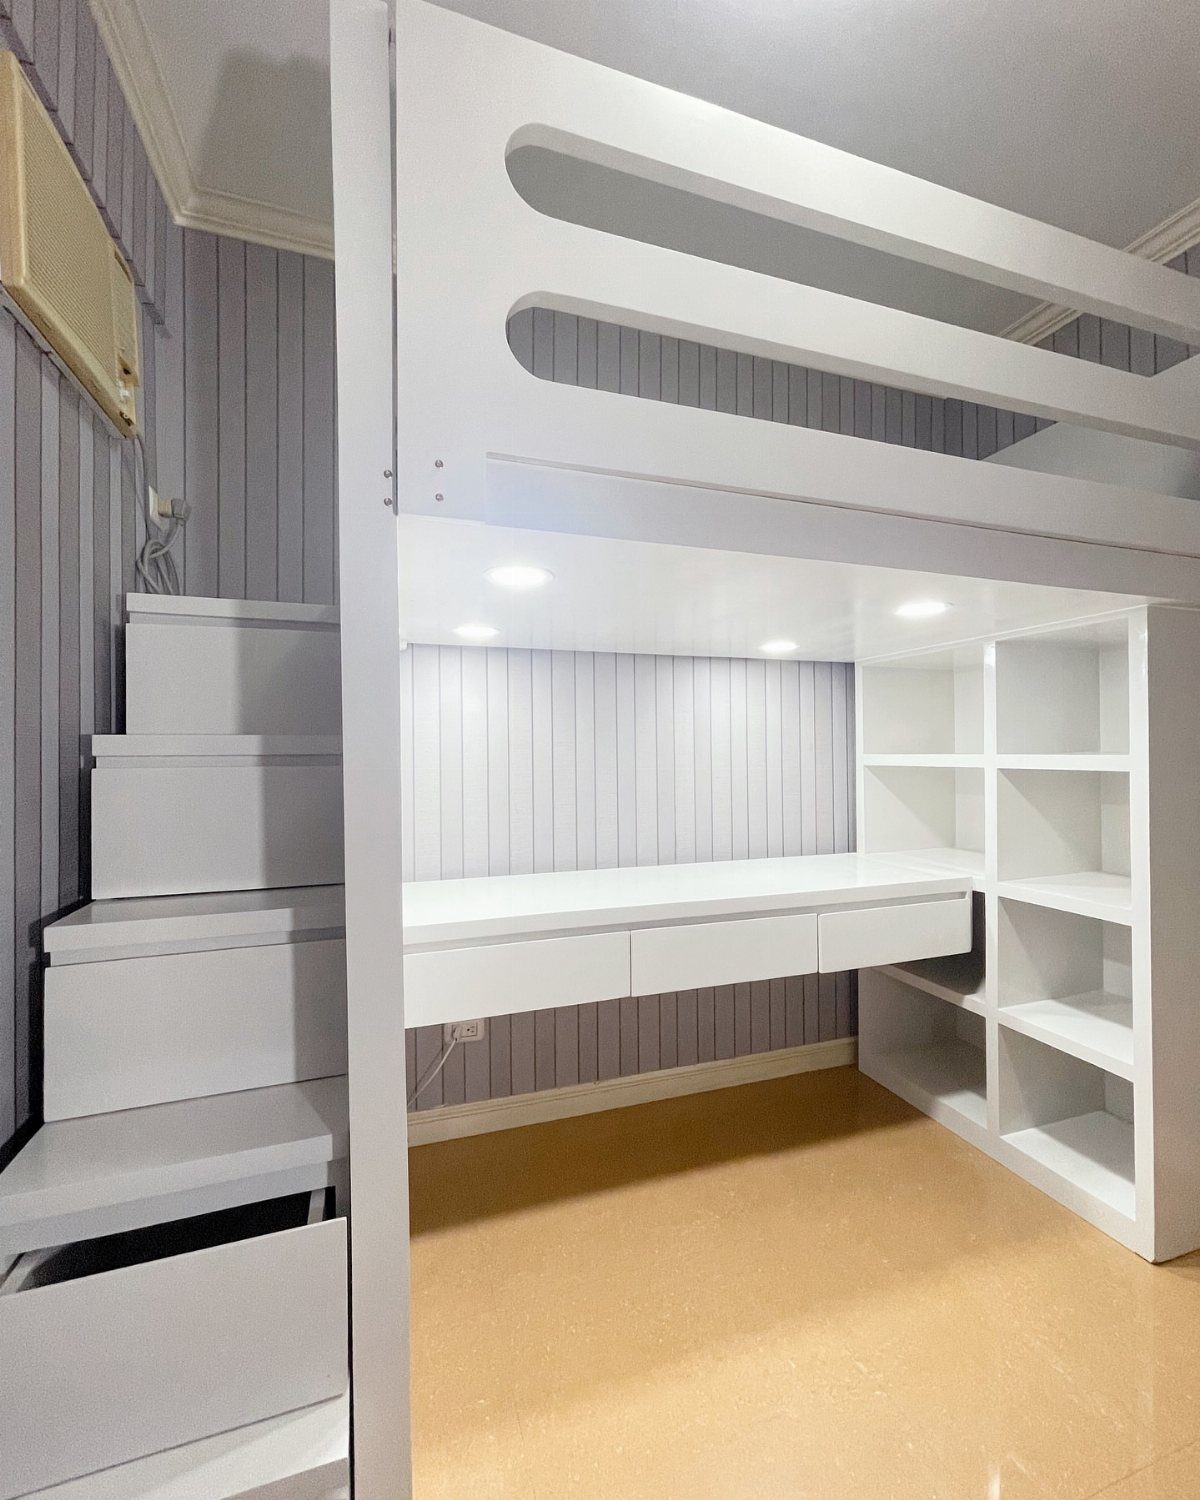
Paint is the cheapest way to make a homemade frame look finished. White on the bed, with a color on the wall behind it, keeps the build looking deliberate.
Sand every surface, prime, then add two thin coats instead of one thick one; drips show most on stair edges and shelf fronts. A semi-gloss or satin enamel wipes clean, which matters on a desk and steps.
Paint before assembly if you can, since the inside corners are hard to reach later.
5. Wooden Loft Bed with Staircase
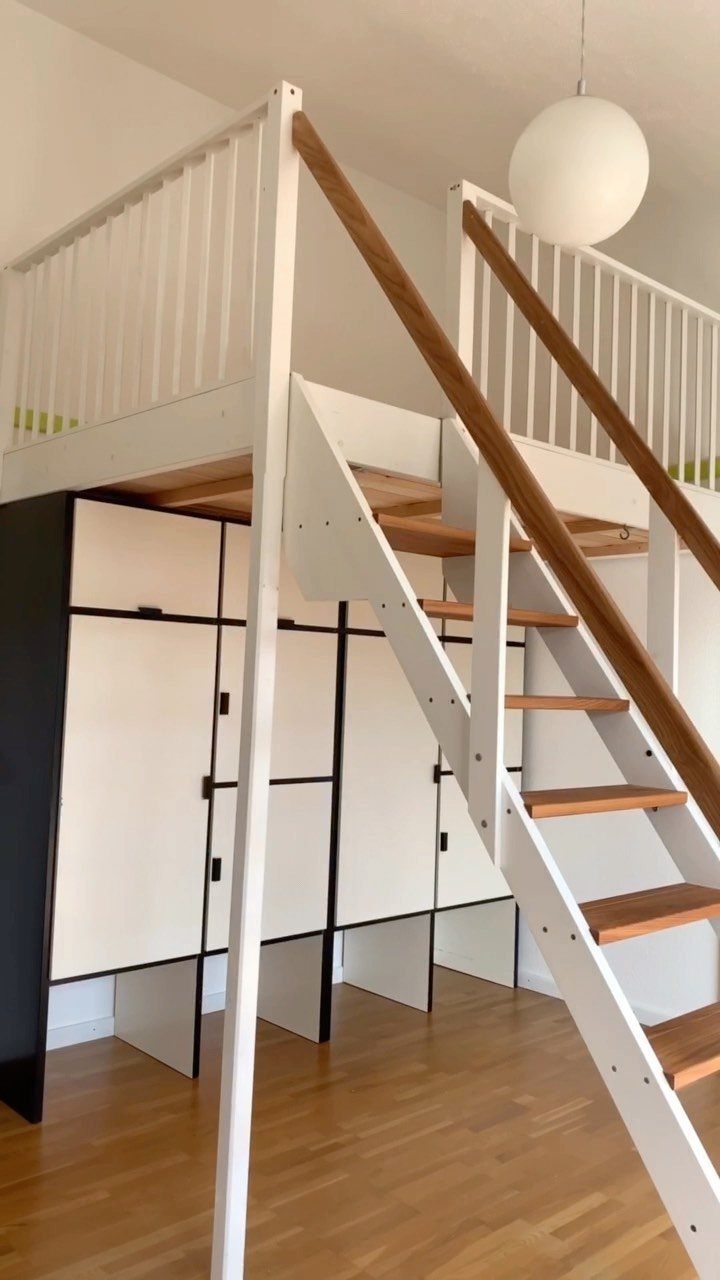
Built-in stairs with handrails make the climb easy, and cabinets beneath the bed use the same footprint twice. This is a bigger build than a ladder, so I’d budget more than one weekend.
Frame the cabinet base first and build the loft on top of it. The handrails should sit at a comfortable grip height and be fastened to the frame, not just the steps.
A light pendant fits easily in a room with a loft bed this tall.
Building a DIY loft bed is much cheaper than you’d think. Without buying a mattress, you can expect to build a DIY loft bed for less than £175.
6. Loft Bed with Safety Net Railing
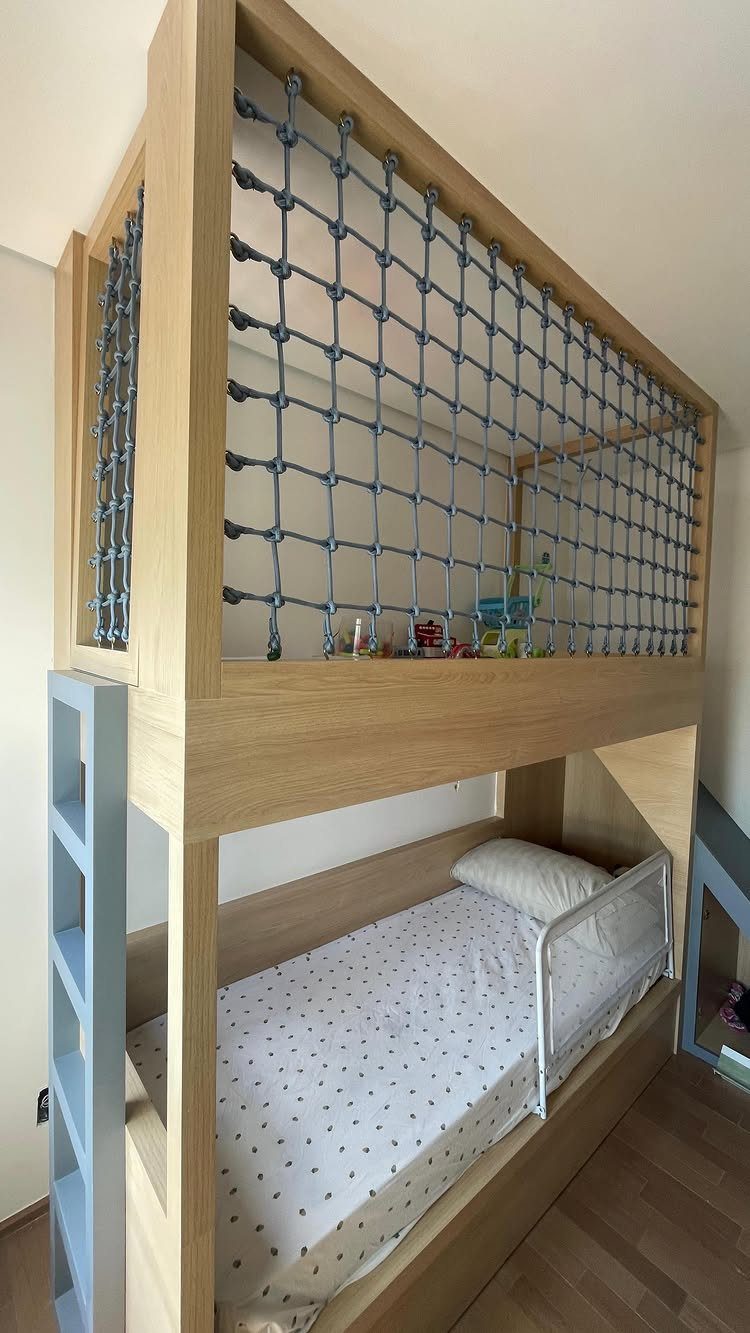
A rope net rail does the job of a solid guard while letting light and air through, so a small room never feels boxed in. The blue cord also adds color to a plain wooden frame.
Anchor it to the posts with strong hardware, and pull it tight so there’s no slack for a child to catch a foot in. Leave room beneath for a twin bed, which gives a small room 2 sleeping spots.
Check the net’s tension every few months.
7. Wood Frame with Metal Railing
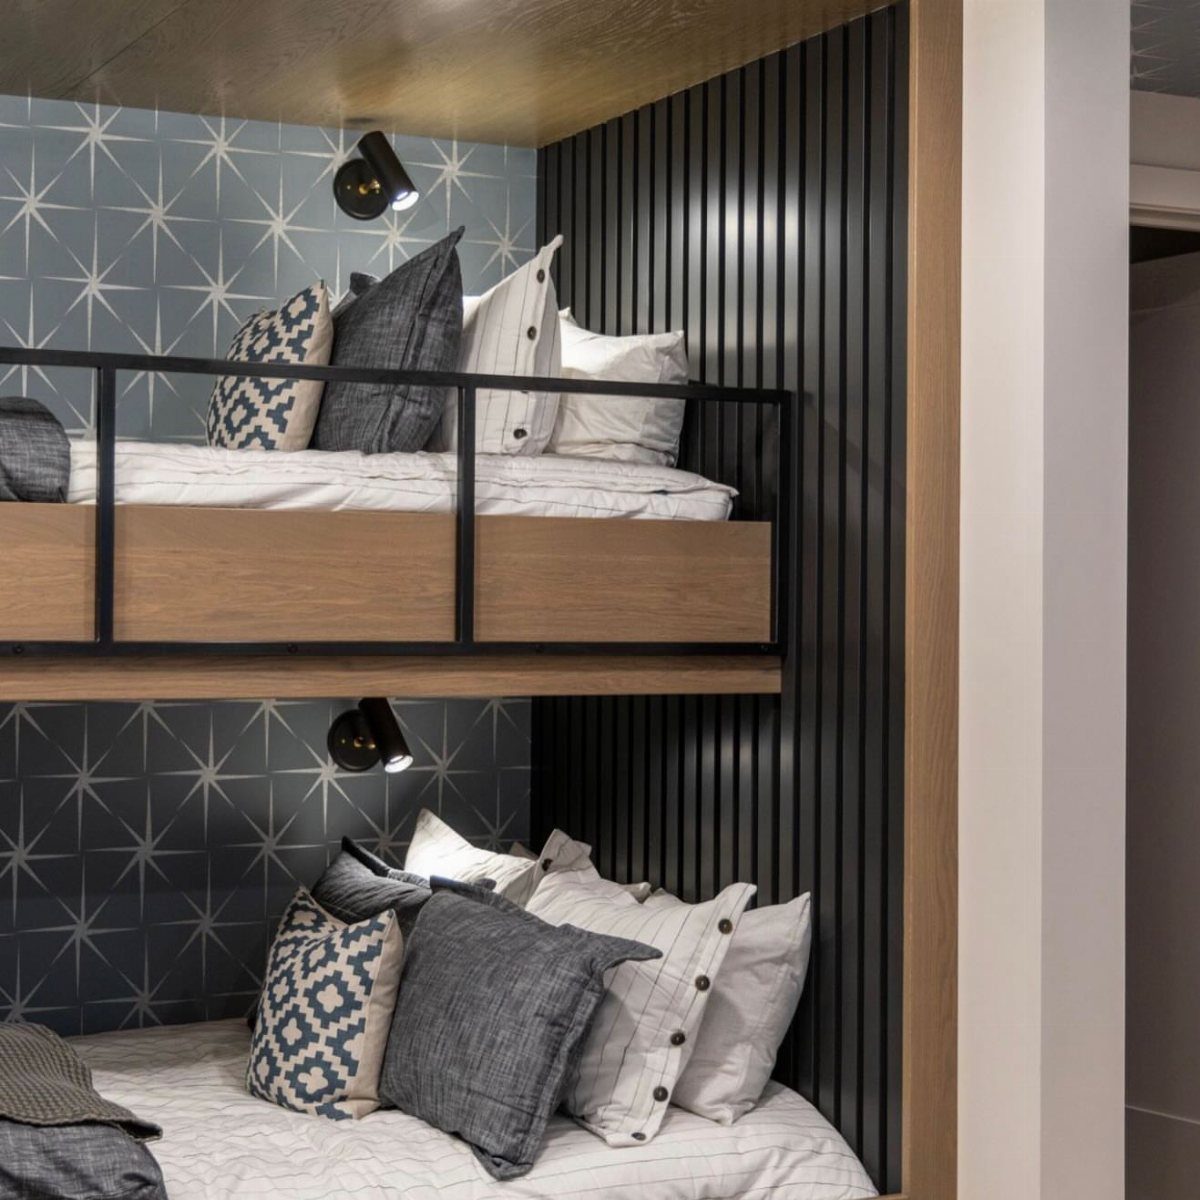
Black metal rails against a wood frame give a plain bunk loft a modern edge, and the contrast hides fingerprints better than pale rails would. Wood and black steel also read as two deliberate materials instead of one build.
Matte black paint on the metal hides scuffs best.
8. White Loft Bed with Desk Underneath
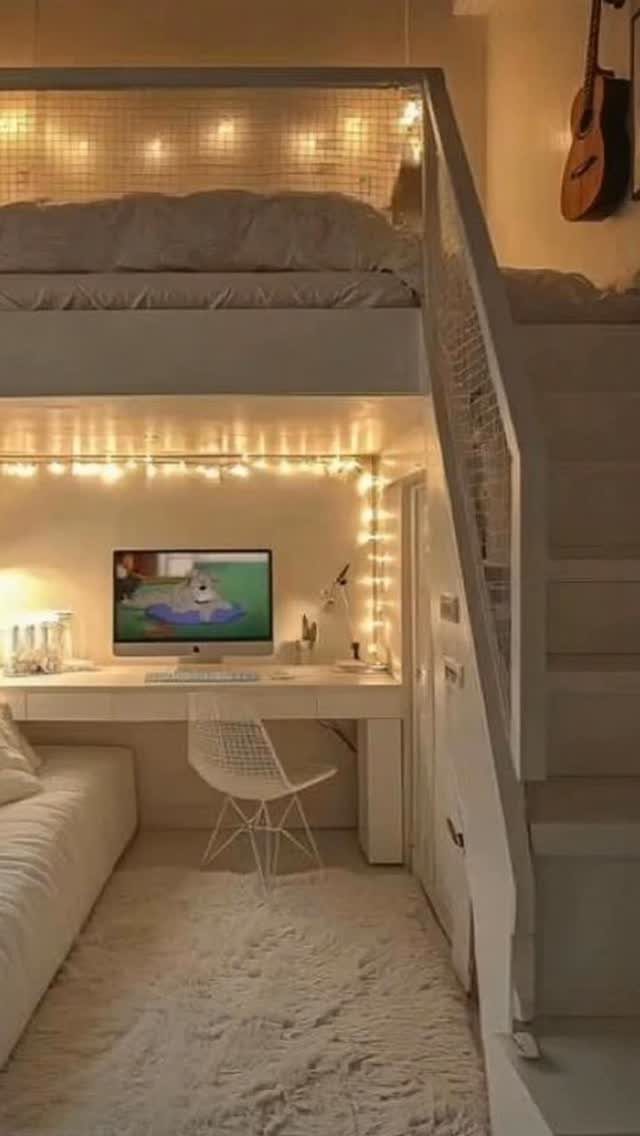
A desk tucked under a white loft bed gives a small room a real workspace without taking any extra floor.
White paint keeps the space below from feeling like a cave, and string lights add soft light where the bed blocks the ceiling fixture.
Plan the clearance first: the desk and chair have to fit with room to sit up straight. I’d also add a dedicated lamp for homework, since string lights set the mood but won’t light a page.
Mount the lights on the frame itself, not the mattress deck, so the sleeper can’t knock them loose and the wiring stays out of the way.
9. Loft Bed with Lounge Space Underneath
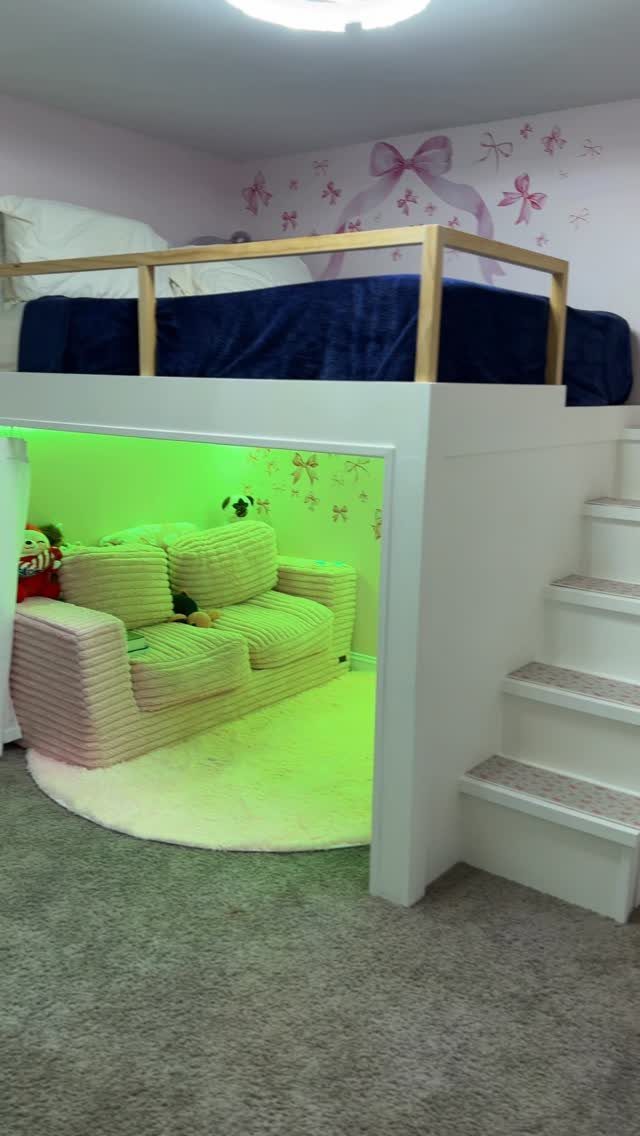
A small sofa and a rug under a raised bed turn dead floor into a hangout spot, which suits a kid or teen who needs somewhere to sit besides the mattress.
Stairs make the climb easier than a ladder here, though they use more floor.
I’d choose a loveseat-size sofa and measure the space before buying, since the bed’s underside sets the limit. A low, colored light keeps the nook cozy without glare.
Washable rug covers handle spills better than a bare white one.
Tools Needed
A cordless drill with a countersink bit does most of the work, because screw heads sunk below the surface won’t snag sheets or skin.
Add a circular saw or miter saw for cutting the posts and rails, plus a tape measure and a speed square to keep every cut true.
Clamps hold joints tight while you drill, so a pair of 2 or 4 bar clamps saves a lot of frustration. A random orbital sander with 120-grit paper handles the finishing.
A level matters more than people expect. If the frame leans even slightly, you’ll feel it every night.
Buy or borrow what you’re missing before you start cutting, since stopping mid-build for a tool halts the whole weekend.
Material Recommendations
Poplar and pine are both good choices for a loft frame. Poplar is harder and takes paint smoothly, while pine costs less and works fine for posts and rails if you pick straight boards.
Standard framing lumber from a home center runs cheap, but the dimensions you want, like true 4×4 posts in longer lengths, are often out of stock, so check the rack before you finalize a cut list.
A timber merchant can supply good lumber cut to size, which saves you time and waste. Pine and spruce both make solid boards for a loft bed: they’re light, easy to cut, and take screws and stain without a fight.
Sort through the stack yourself and reject anything warped, twisted or full of loose knots. Those flaws only get worse once the frame carries weight.
Cut every piece to size before you assemble anything. Before you drill anything, spread every piece across the floor and compare it with your plan, so a wrong length shows up while it’s still easy to fix.
Safety Considerations
Kids shouldn’t sleep on the upper level of a bunk until they’re at least 6 years old. Younger kids are better off on the lower bed, even if the loft is already built.
After assembly, shove and rock the frame hard from every side; any wobble means a joint needs another bolt or a brace before anyone climbs up.
Any wobble means a joint needs another screw or a brace, and you should fix it before a mattress goes on.
Check the bolts and screws again after the first week, then every few months, because wood shifts as it settles.
Use a mattress that leaves enough space between its top and the rail. Thick mattresses can shrink the guard height, so measure before you buy.
Keep the bed away from ceiling fans and light fixtures.