Ceiling height decides which built-in bunk bed fits your room: a multi-level stack or a play loft needs vertical space, while a plain wall-to-wall pair works in an 8-foot room.
The ideas here run from basic lumber and MDF platforms at $250 to $500 to built-in storage, curtained nooks and custom painted ladders.
1. DIY Built-in Bunk Beds
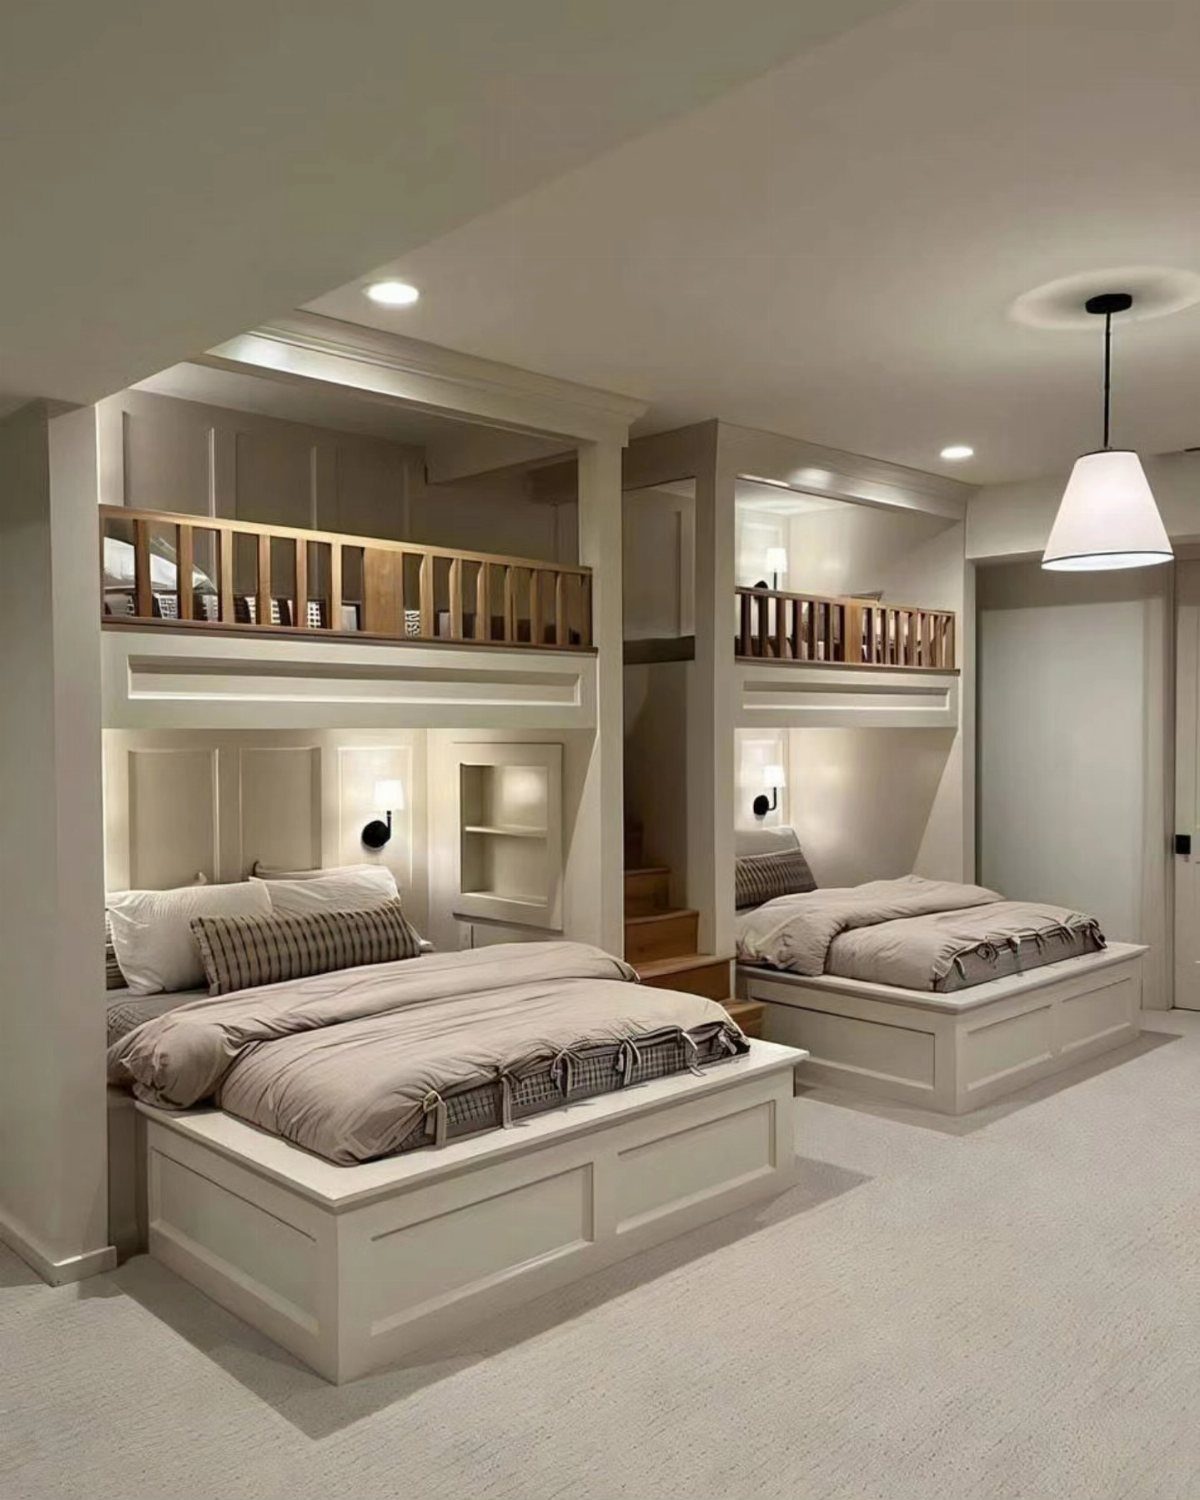
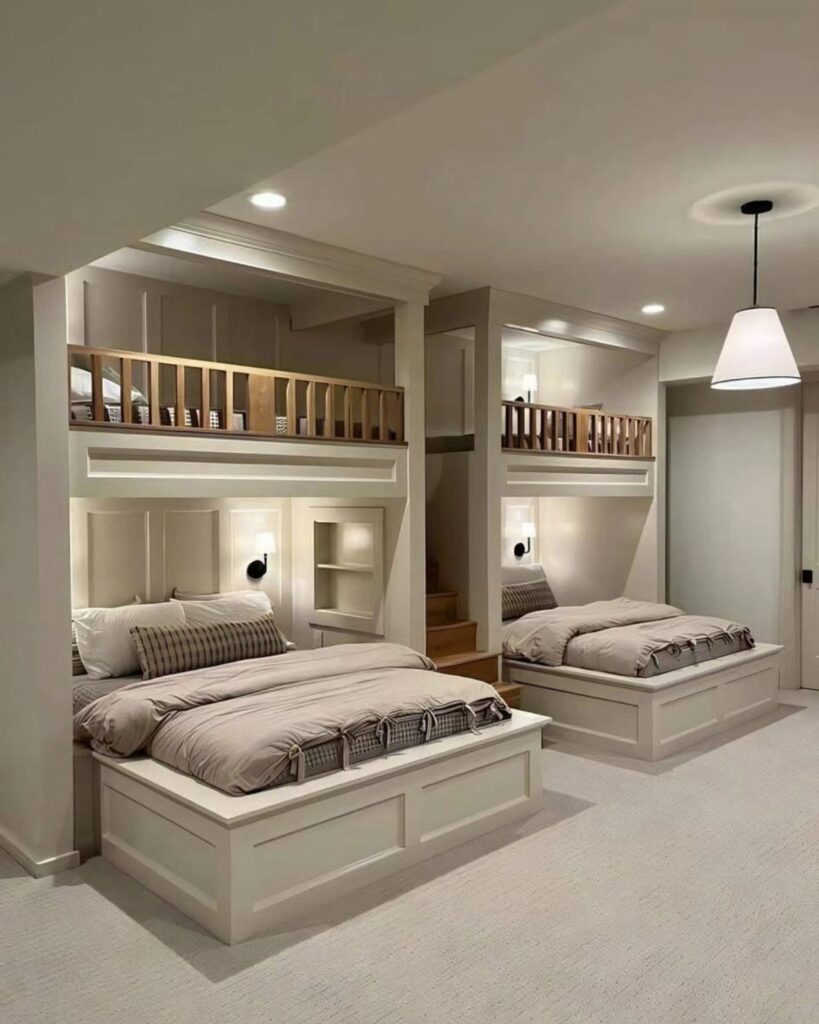
Measure the room before anything else, because a built-in bunk bed earns its place by fitting the walls exactly. Off-the-shelf frames leave gaps; a custom build can run flush to the wall and ceiling line with no wasted corners.
White paint with wood railings, as seen here, keeps the frame from swallowing the room. Neutral bedding finishes the calm look.
Sketch the layout on paper first, with mattress size, rail height and the clearance above the top bunk. That one drawing saves the most expensive mistakes.
2. Custom Ladder Designs
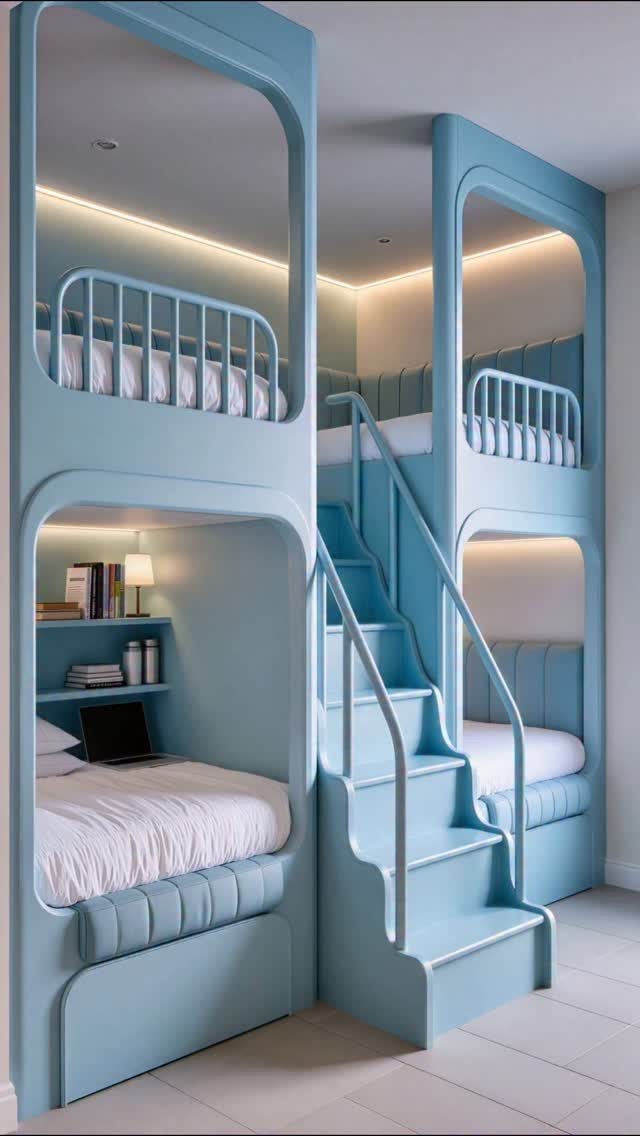
A ladder is the least interesting part of a bunk bed until a kid has to climb it twice a night. A staircase is easier on small legs and gives the bed a finished, furniture-like look.
Stairs take more floor than a ladder, so check the room before committing.
Painting the stairs to match the frame ties everything together. Shelving built into the stair side puts that bulk to work.
3. Multi-Level Bunk Beds
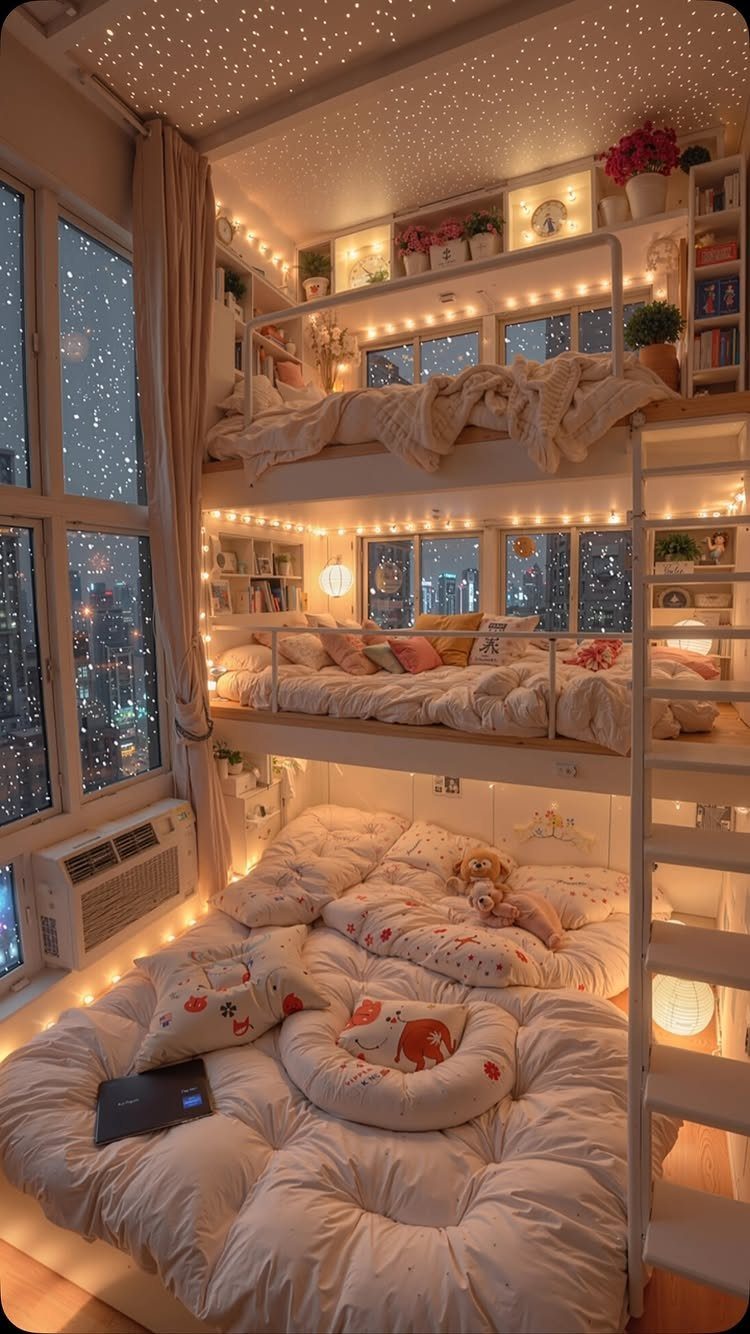
Three tiers sound like a stretch, but a triple-decker is how I’d sleep three kids in one small bedroom. It trades floor space for height, so ceiling clearance decides everything.
Give the top bunk the most thought. Rails, lighting and a way to climb up all need planning before the first board is cut.
Keep bedding light and simple so 3 stacked beds don’t feel heavy.
Bunk beds have been around forever, but having a dedicated bunk room that sleeps four or more is a more recent design trend that’s quickly becoming a favorite in family homes.
4. Built-in Bunk Beds with Nooks
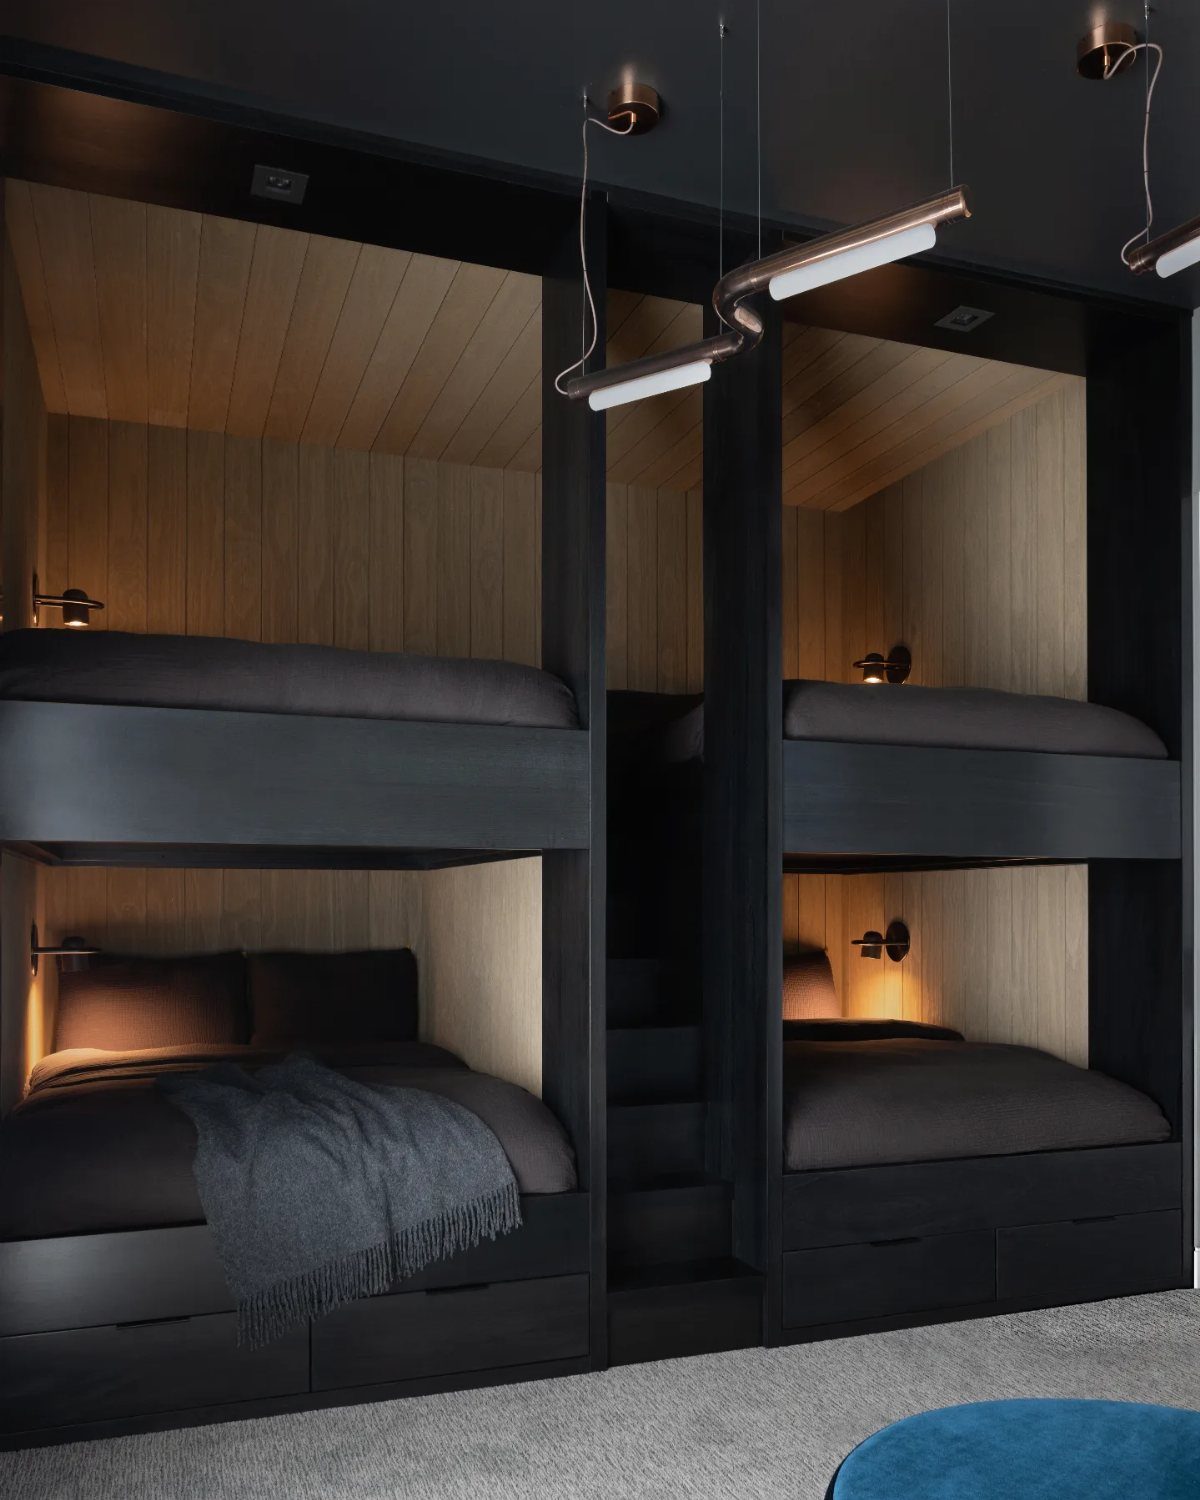
Dark frames with light wood interiors make each bunk feel like a small cabin of its own. Black on the outside hides scuffs and anchors the room, while the pale paneling inside keeps the sleeping space from feeling closed in.
Add a built-in reading light to every bunk, since a nook without light goes unused. Shelves cut into the frame hold books and a water glass, so nothing ends up on the floor.
I’d choose this version for kids who read at night.
5. Bunk Beds with Storage
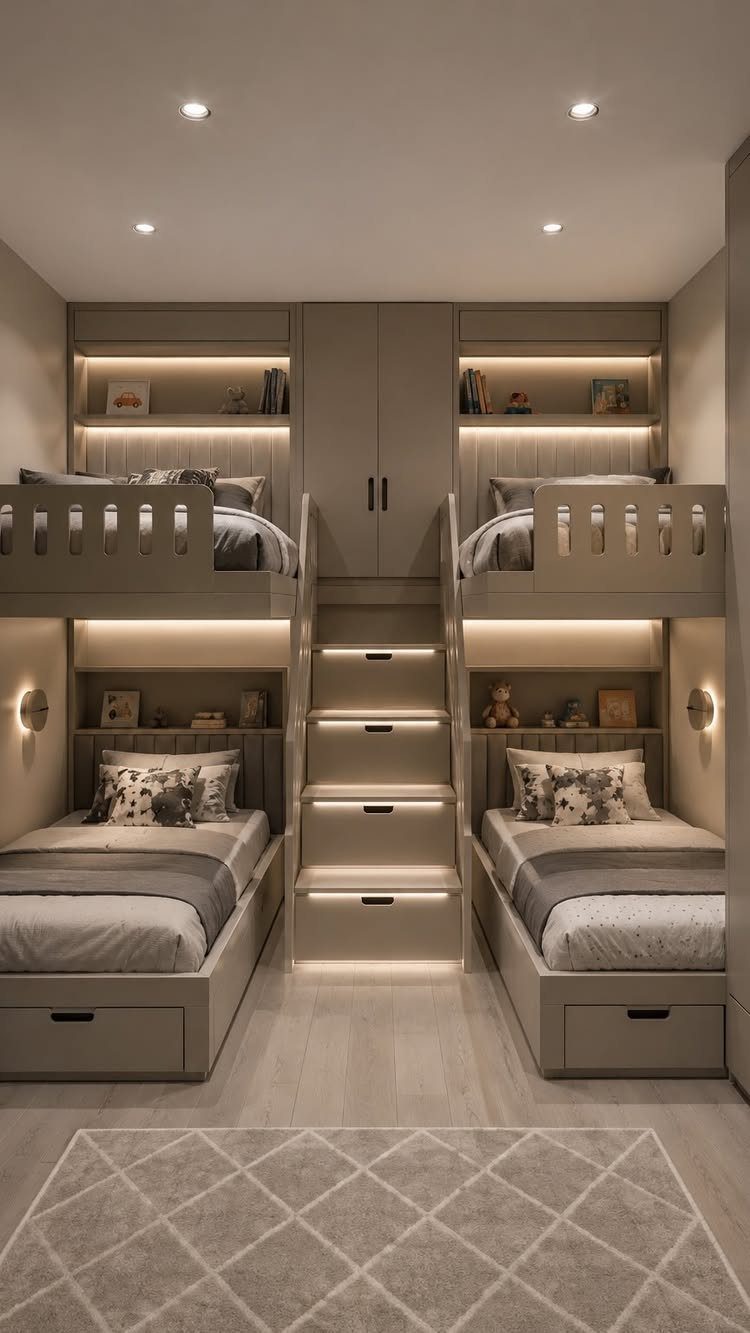
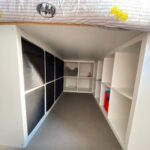
Beds stacked with drawers underneath and a central staircase: this is storage doing real work. A wardrobe built into the stairs holds clothes that would otherwise need a dresser, and the dresser’s floor space goes back to the room.
Drawers beneath the lower beds are the easiest storage to add. Pair them with shelving at the sides for the things kids reach for daily.
A neutral finish keeps a big structure like this from dominating the room.
6. Wall-to-Wall Built-in Bunk Beds
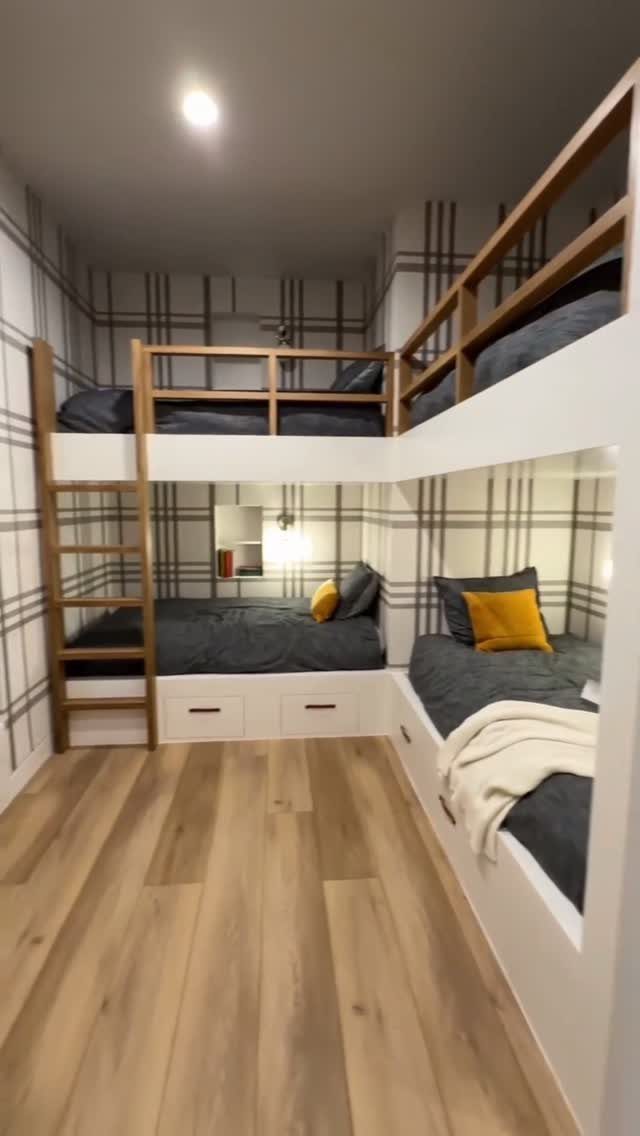
Running bunks from one wall to the other removes the awkward gaps where dust and lost socks collect.
Under-bed drawers, a ladder and wood rails, as seen here, make a full setup. White paint keeps the structure light against a patterned wall such as the grey plaid wallpaper.
Measure both walls at the floor and at bed height; rooms are rarely square, and a custom fit has to allow for that.
7. Built-in Bunk Beds with Curtains
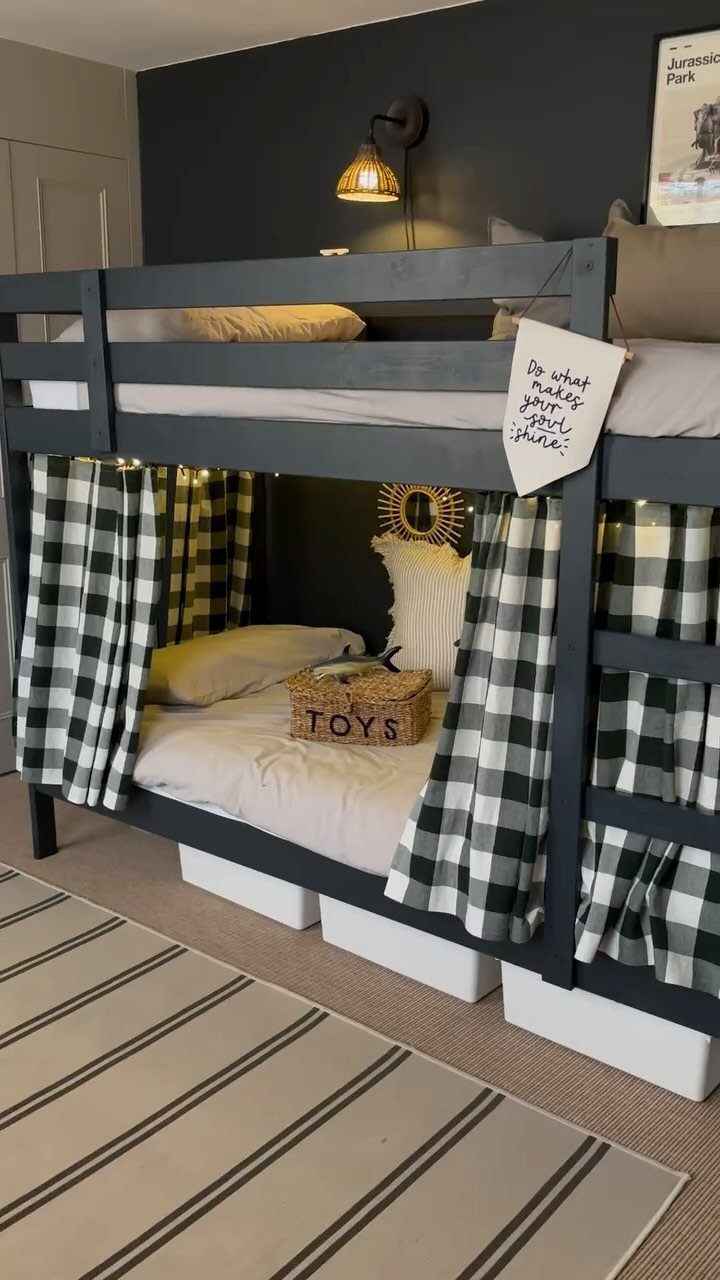
Curtains turn a lower bunk into a private sleeping nook, and a checkered fabric keeps it playful instead of fussy.
A kid who shares a room gets a place to retreat, and you get a way to hide a messy bed in seconds.
Mount the rod flush to the frame so the fabric hangs straight and clears the mattress edge. Choose a washable cotton, since curtains at kid height collect sticky hands.
I’d pick a pattern that picks up one color already in the room, so the bunk reads as part of the plan.
8. Whimsical Bunk Bed Designs
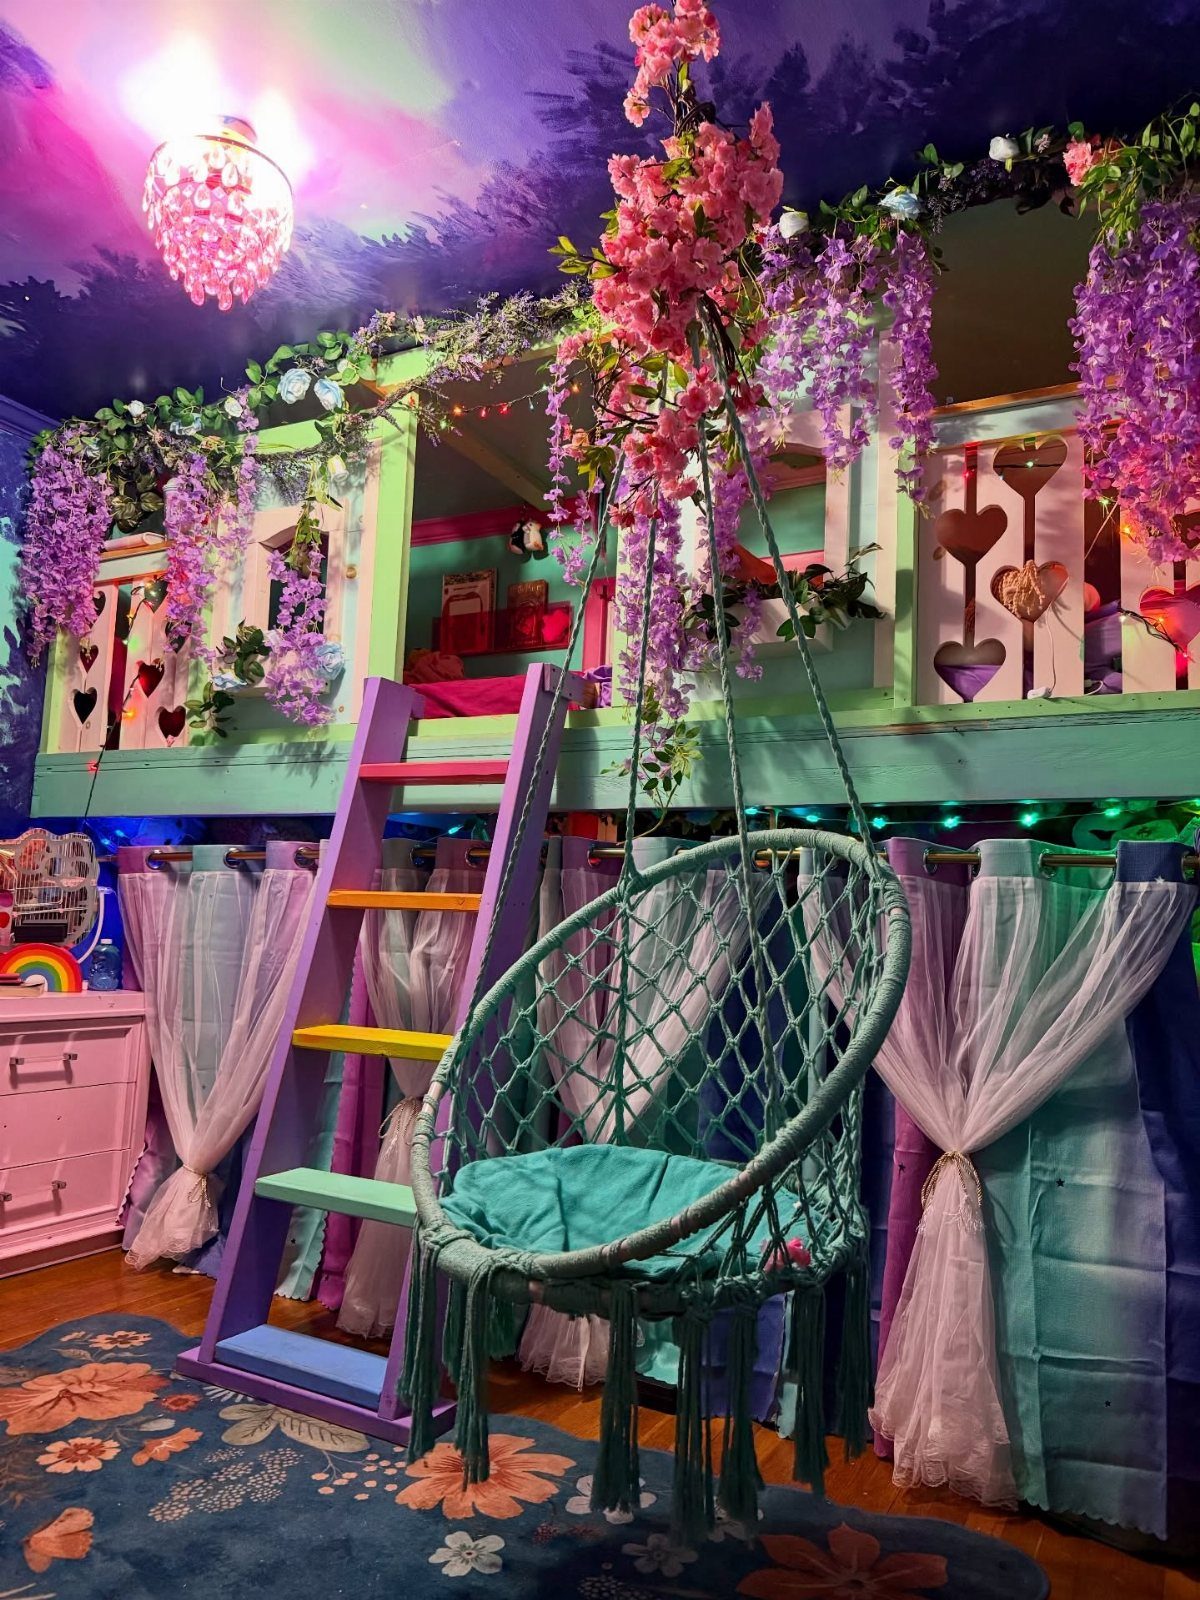
A bunk bed stops being just furniture once the ceiling, the ladder and the corner beside it all join in. Paint the ladder a bold color, as here, and the whole bed gets a focal point without any extra building.
Hanging vines and a swing chair cost far less than custom carpentry, and they can change as the child grows. A dark ceiling with stars does the most for the least money, so I’d start there.
Anchor any swing into a ceiling joist, never drywall alone.
9. Play Loft Above Bed
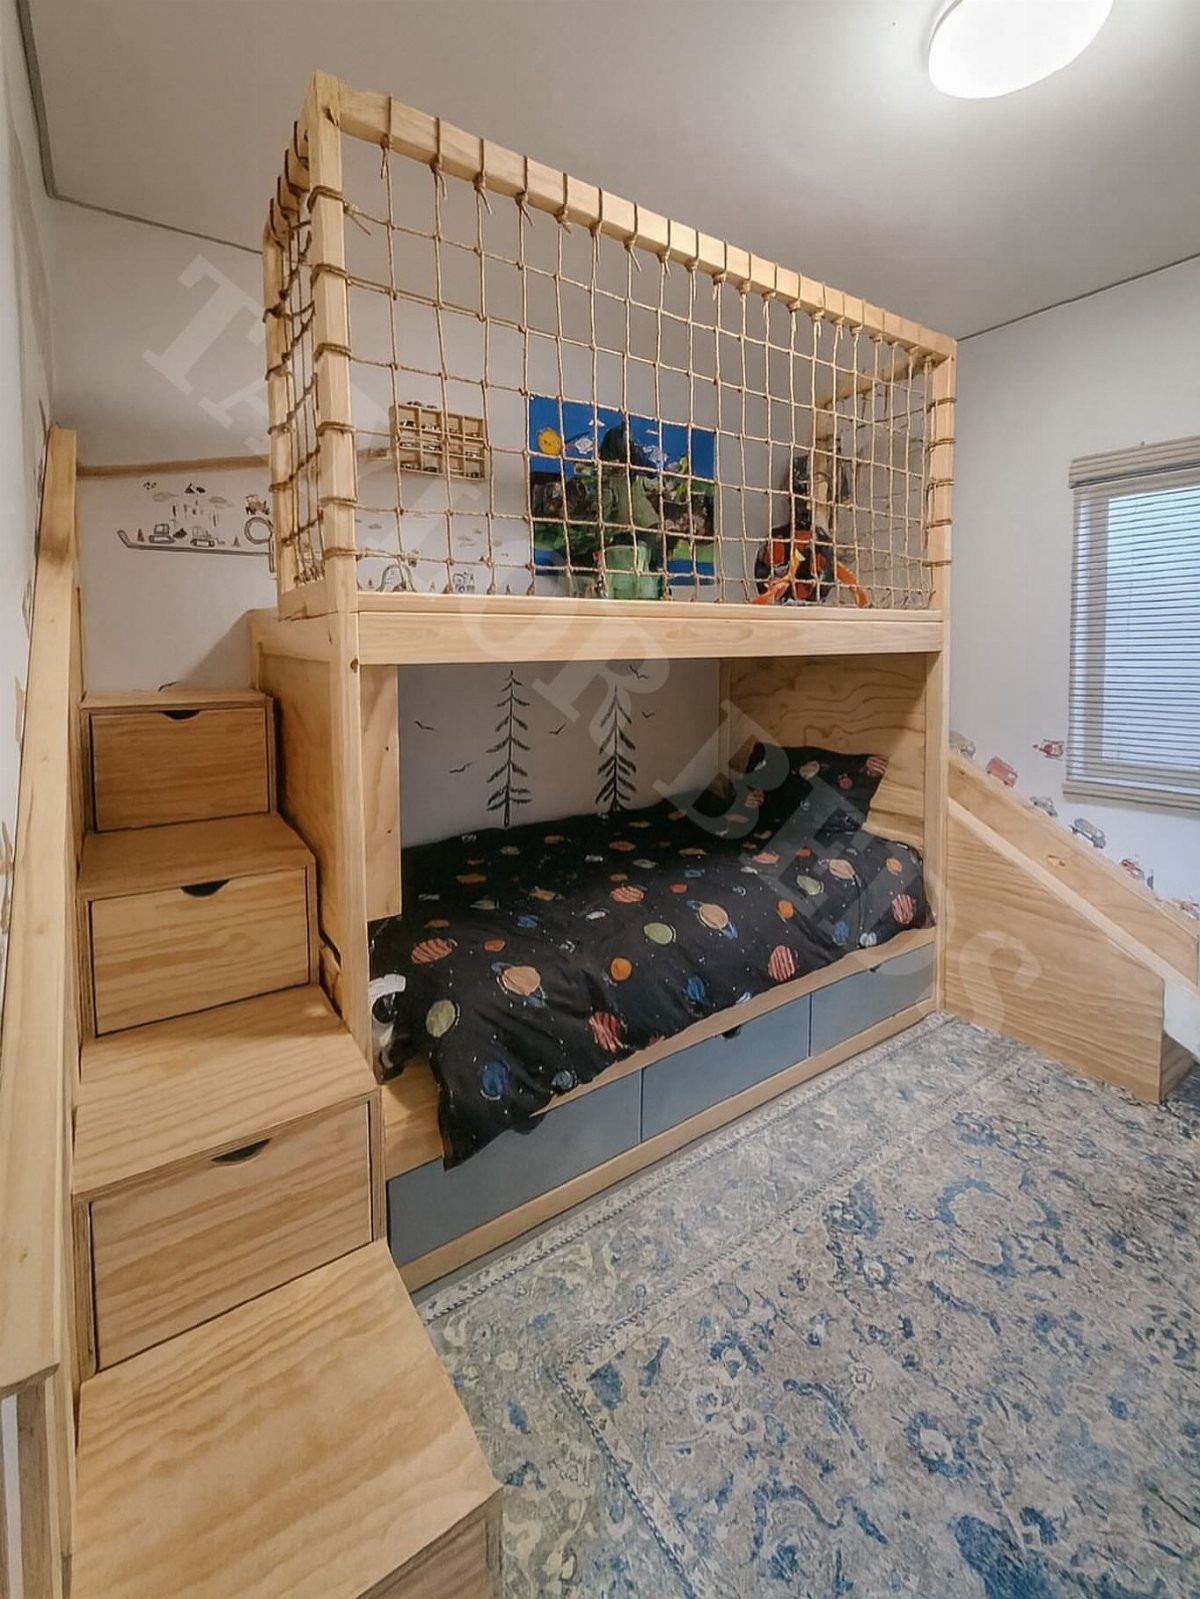
A loft over the bed gives a child a second room in the same footprint: sleep below, play above. Rope netting around the top keeps the space open and airy, where solid walls would feel boxed in.
Stairs with built-in storage beat a ladder here, because kids carry toys up and down all day. Keep the loft rails and netting tight, with no gaps a child could slip through.
The layout makes sense when floor space is tight but you have 9 or 10 feet of vertical clearance. Measure that height before you plan the loft floor.
Materials for Construction
Most built-in bunks come down to 3 materials: 2x4s for the frame, plywood for panels and rails, and MDF for the platforms.
I use 3/4-inch plywood for the mattress platform because it handles the weight without flexing and holds screws better than MDF.
Plywood or 3/4″ material works too if you want a stiffer deck, and it costs more. MDF soaks up water at cut edges, so seal them with primer before painting.
Paint is the finish that gets the most wear, so buy a quality product. Benjamin Moore is a solid choice, and a durable satin or semi-gloss wipes clean after sticky hands and scuffs.
Cost of Building Bunk Beds
A custom build usually costs less than a pre-made bunk set, and $250 to $500 is a realistic range depending on the materials you pick.
A single twin pair on an 8′ wall sits at the lower end if you stay with MDF platforms and basic lumber.
Quantities change with wall length and mattress size, so count your boards from your own drawing before shopping. Mattresses are not part of that range, so price them separately.
Spend extra on the parts kids touch most, like rails and paint, and save on the pieces hidden behind them.
Safety Considerations
Pick the top bunk height before you build the upper platform, and base it on your ceiling.
In an 8-foot room, I split the height so both sleepers can sit upright, which usually means an adult has just enough clearance on the lower bunk for reading before bed.
A snug top bunk discourages jumping and standing up, which is where most falls begin.
Raising the lower bunk slightly is a fair trade to get that spacing. Secure railings on every open side of the top bunk, and fasten them to the frame, not just the mattress edge.