The right loft bed with a desk depends on the kid’s age and what that kid does at the desk, and the list covers a straight desk area, a built-in L-shaped desk, and a desk paired with a climbing wall.
The ideas range from a quick swap of two 2×4 rungs for a full staircase to a build that runs several weeks, and the 2×4 detail matters because it’s actually 1.5 inches thick, so the Kreg jig has to be set for that, not the nominal size.
Every version puts a mattress overhead, so the frame and rails need the same care whatever the style.
1. Desk Area
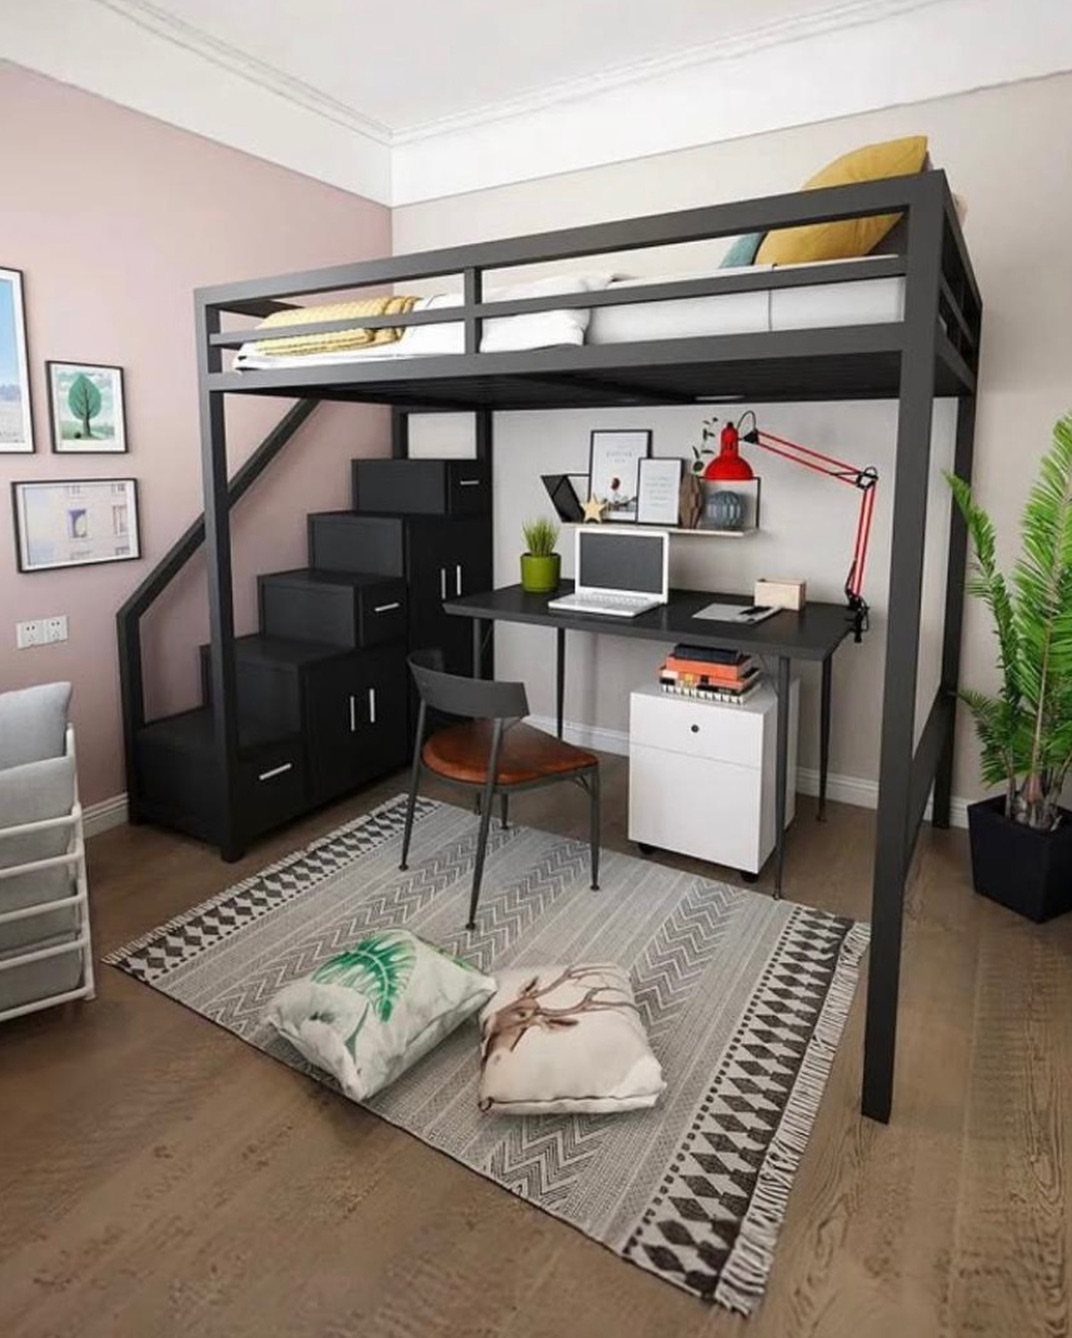
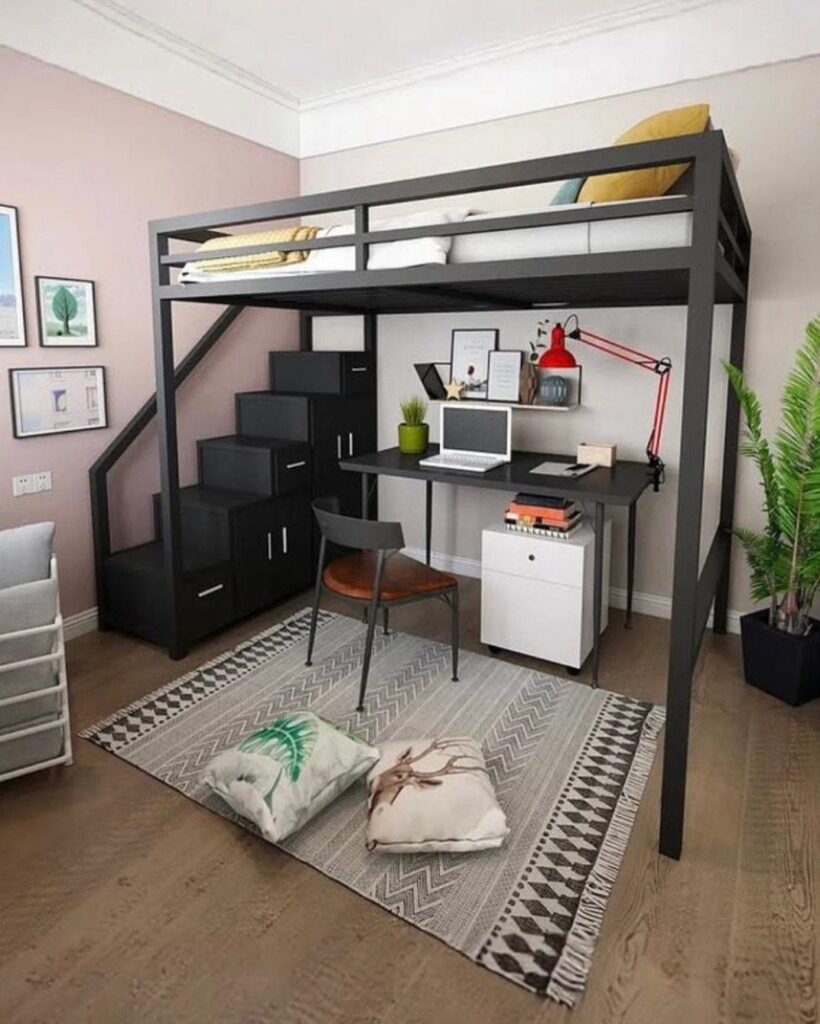
A desk tucked under a black metal loft bed gives a kid a real workspace without taking any more floor.
Slide the chair under the desk when you’re done and the floor opens up, so a compact bedroom doesn’t feel boxed in.
Set the desk so its edge sits clear of the bed posts, and leave room to push the chair back without hitting them.
A rug under the chair, like the grey patterned one here, softens the hard floor and marks the zone as its own.
2. Loft Bed Frame
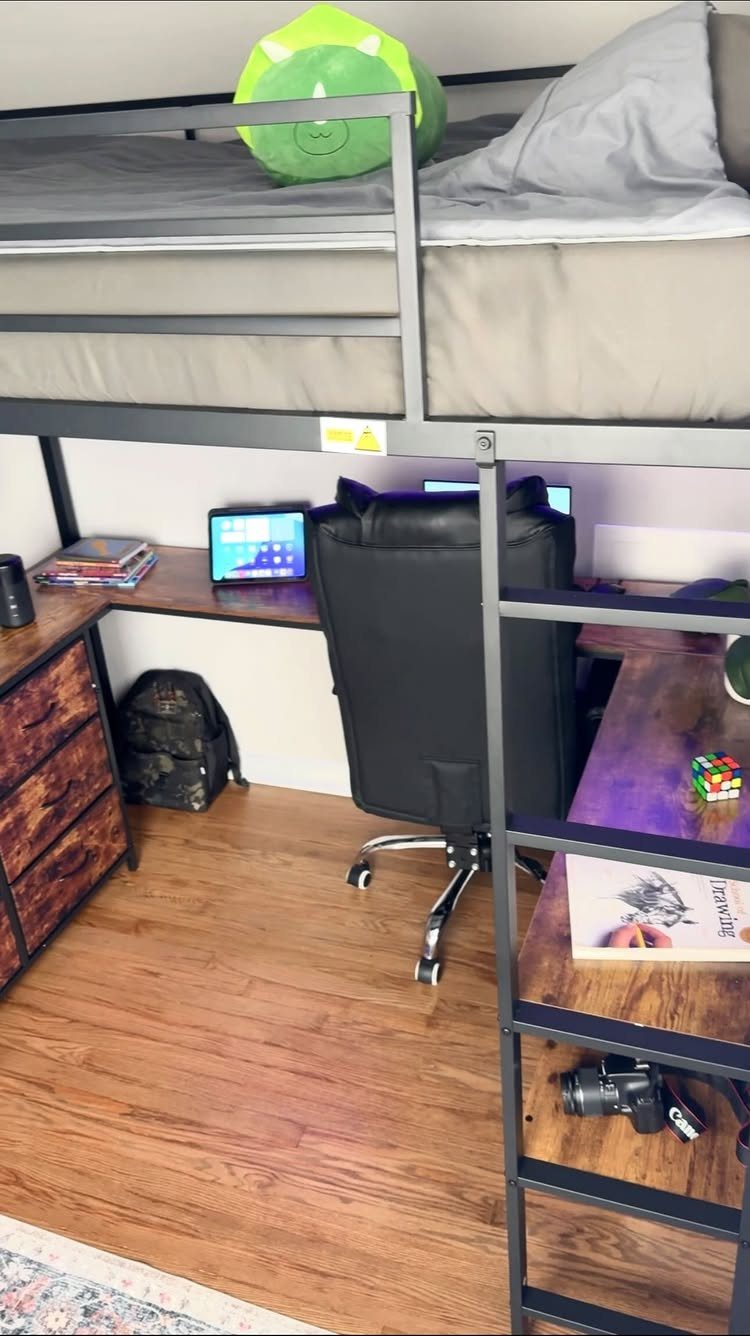
Everything above a desk depends on the frame, and black metal is a clean choice because the posts stay slim and don’t crowd the work area below.
Build it so the mattress sits well above the desk and chair, with no wobble when someone climbs in.
I’d pick sturdiness over looks every time: check each joint and bolt before the mattress goes on, then again after a week of use.
A wooden desk and a few drawers underneath balance the black frame and add warmth.
3. Stairs and Railing
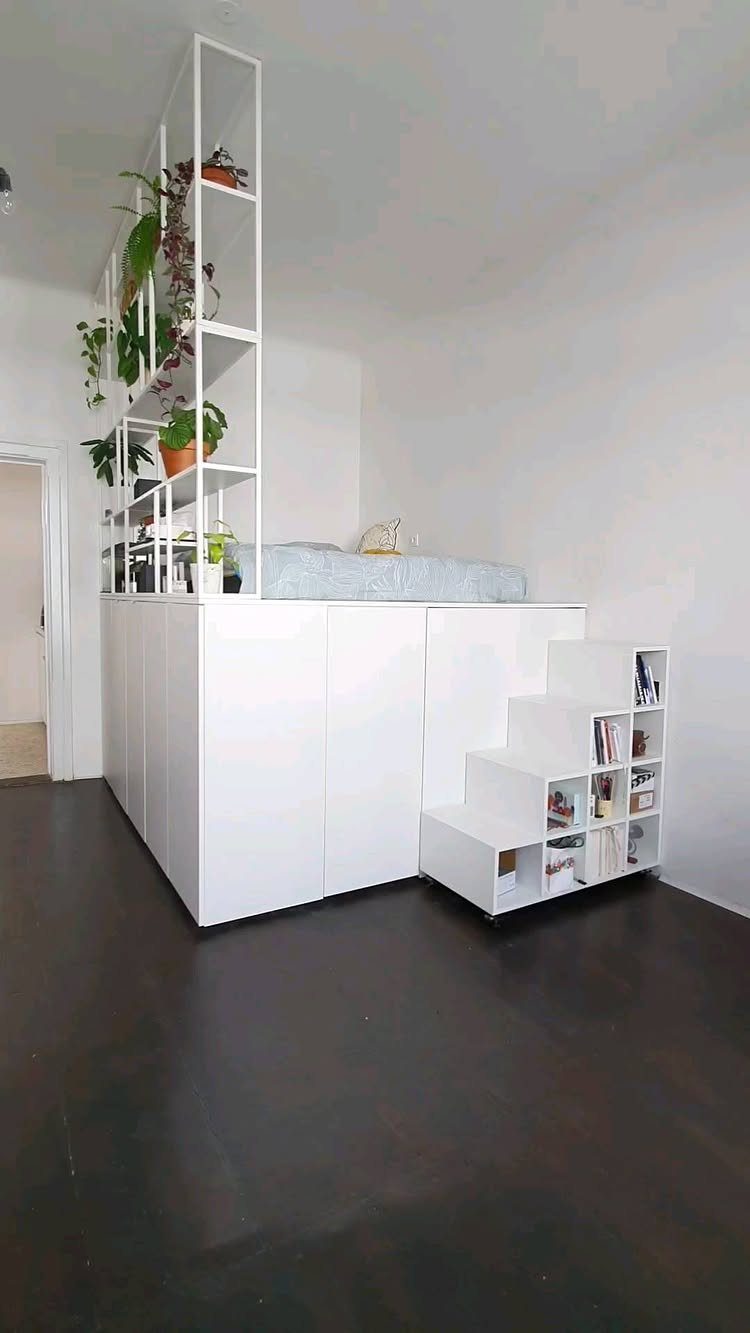
Stairs built as a shelving unit turn the way up into storage. Each step can hold books, bins or cabinet space, so the access route does double duty in a room that needs every inch.
Keep the steps solid and evenly spaced, and fasten the unit to the frame so it can’t shift under a climbing child. A white railing along the open edge of the mattress is the other piece I’d never skip.
Plants on the rail look good, but keep anything heavy on the shelves instead.
4. LED Strips in Loft Area
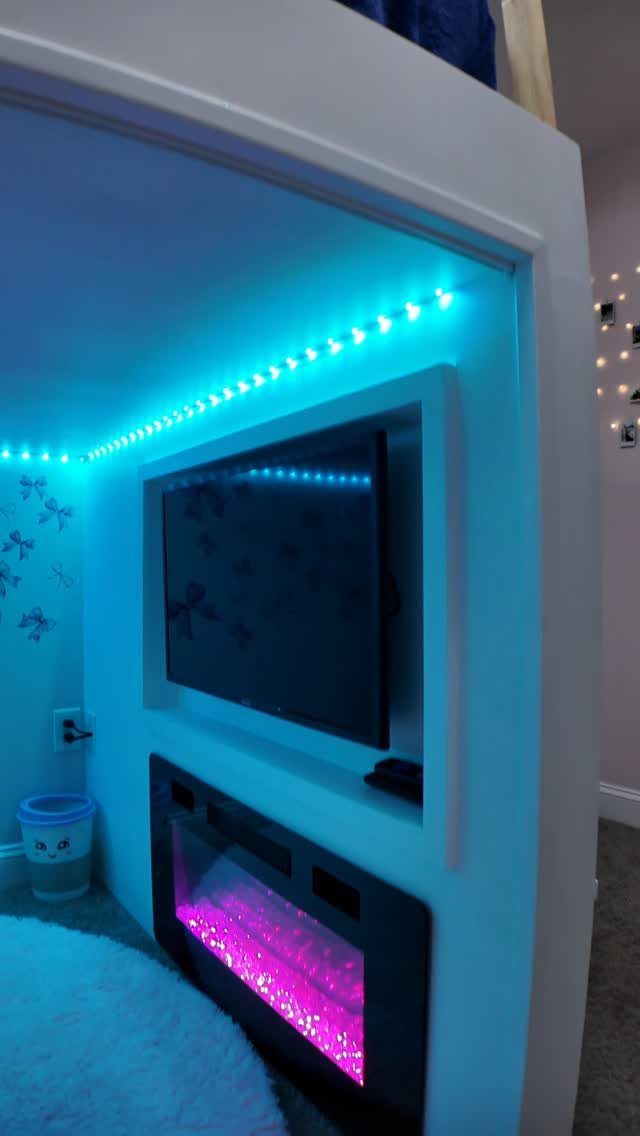
Blue LED strips run along the ceiling of a white loft frame and give the sleeping nook its own glow, no lamp needed. White paint helps, since the light bounces off it and spreads evenly.
Plan the cord route first, and keep the power supply somewhere reachable.
A mounted TV and a glowing fireplace below make this a full hangout, though a teen’s desk may want warmer, calmer light.
5. Built-In L-Shaped Desk
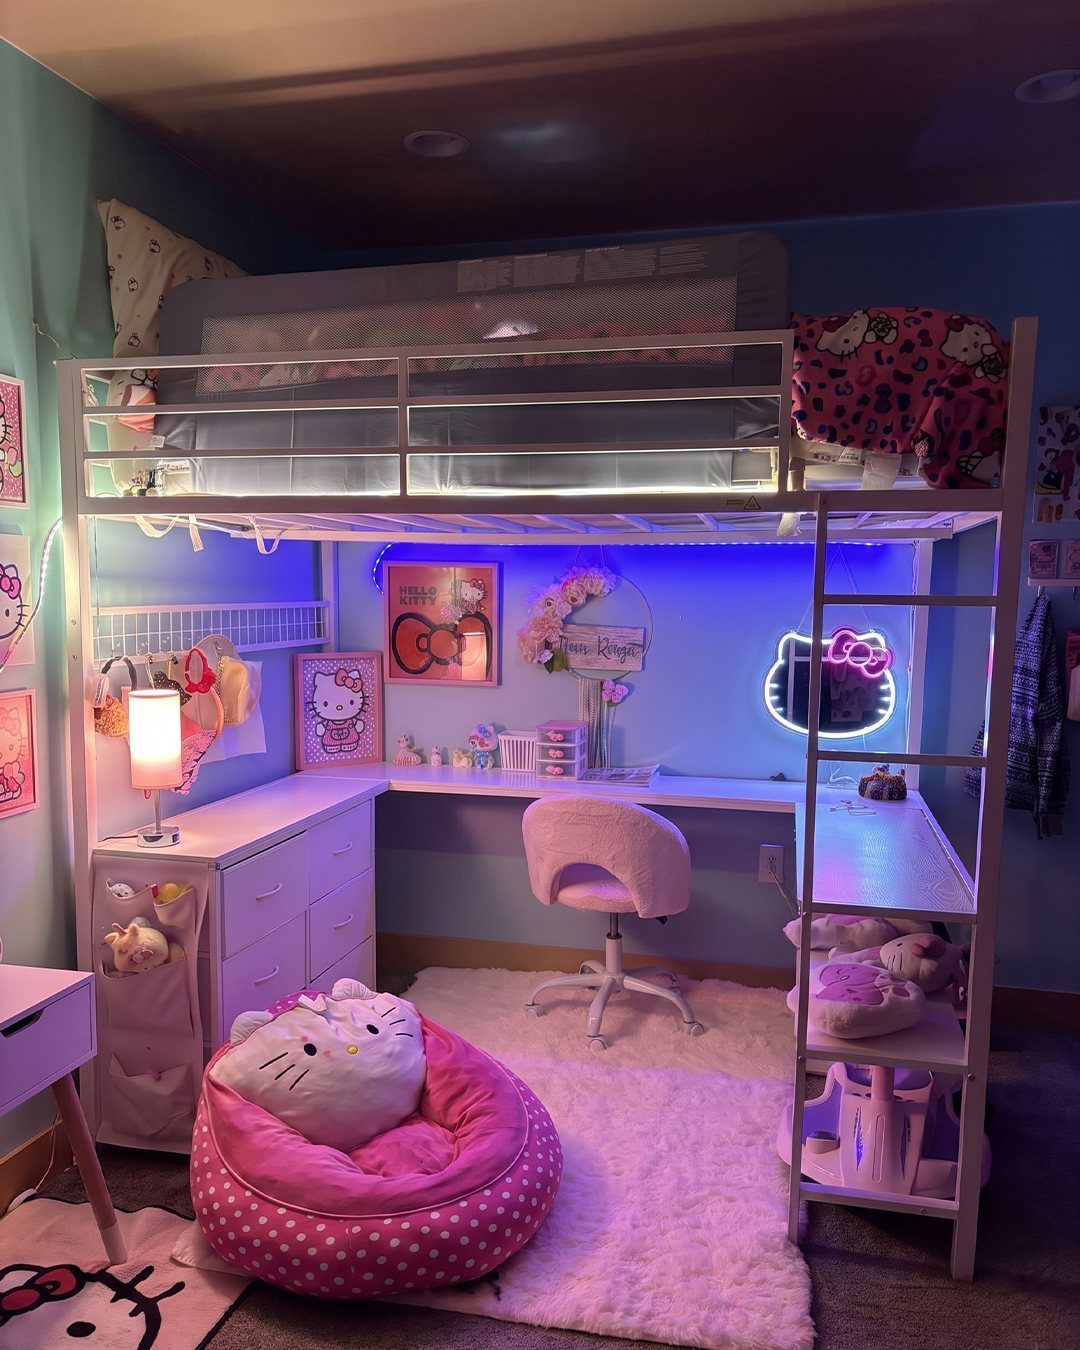
An L-shaped desk built in beneath a white metal loft bed gives a teen two work surfaces: one for the laptop, one for projects or books. It’s a stronger use of the footprint than a single straight desk.
Measure the corner carefully and cut the desktop to fit snug against both walls, so nothing slips behind it. Add a clip-on or under-bed light to the work zone, because the mattress overhead blocks most of the ceiling light.
Keep a patch of floor clear for a beanbag, which gives the kid a spot to read away from the desk. A spot to flop down beside the desk keeps the room from feeling all work.
6. Integrated Desk with Climbing Wall
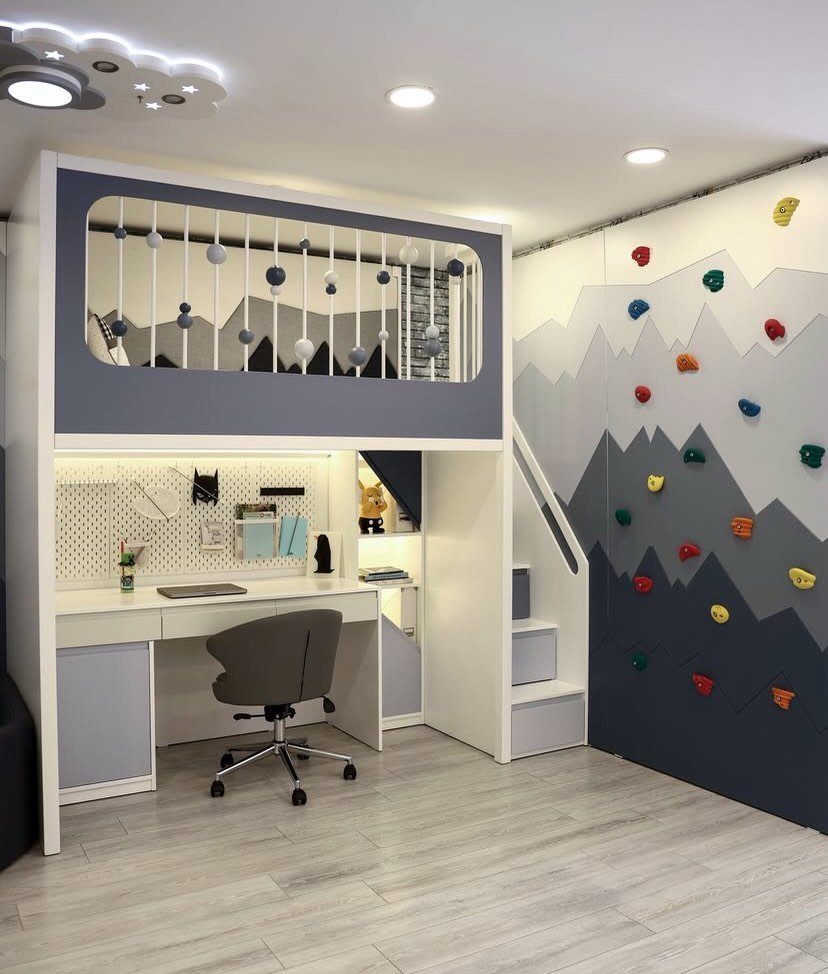
A desk under the loft and a climbing wall beside it give a kid a place to focus and a place to burn off energy, all on one wall. Colorful holds on a mountain-themed panel add play without clutter.
Bolt the wall panel to studs, not just drywall, and keep it clear of the desk so a climber’s feet never land on a monitor or lamp. Soft flooring below is worth the extra money.
Grey and white keeps the loft calm so the holds do the talking.
7. Loft Bed with Gold Railing
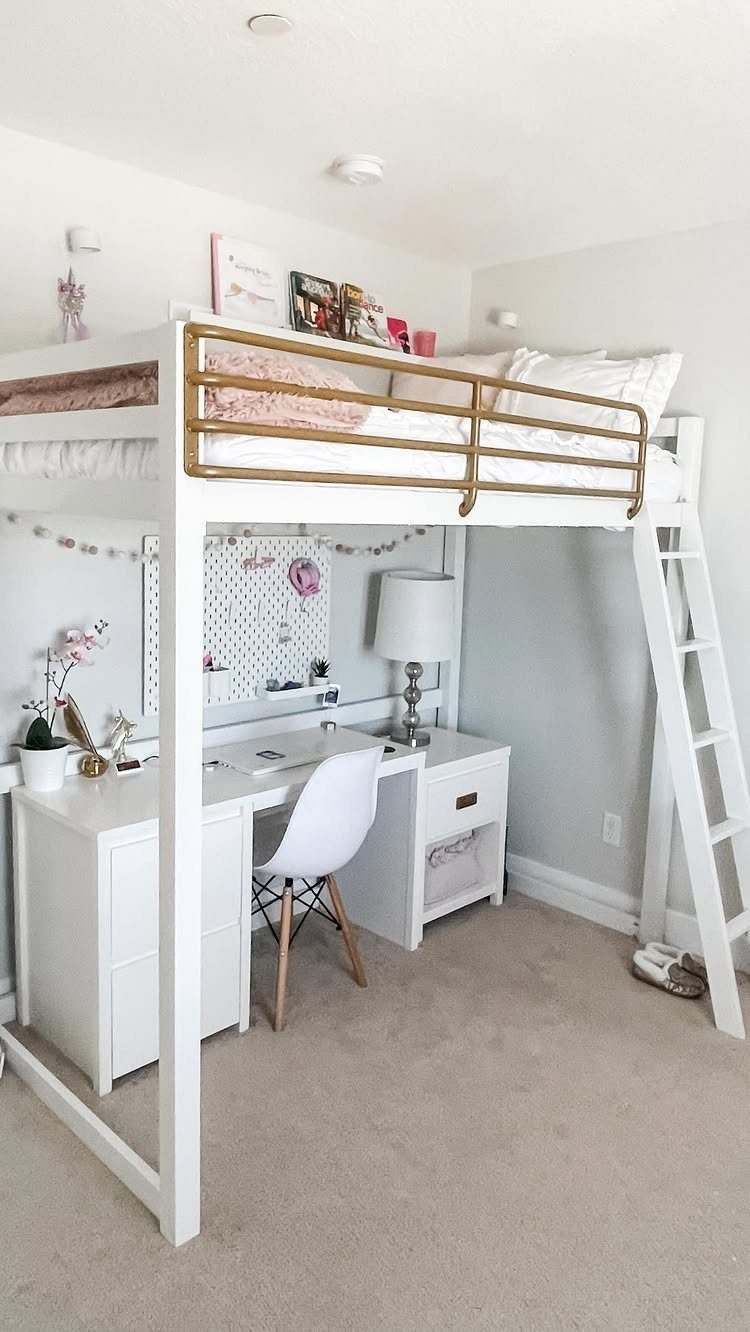
Gold safety rails on a white loft bed add a little shine to an otherwise plain frame, and the white desk with drawers underneath keeps the whole setup matching.
Pink and white bedding suits a girl’s room, and the gold gives it a polished look a teen may keep growing into.
Rails are a safety part first, so buy or build them tall and solid, and check the hardware before the mattress goes on.
If a metal frame won’t take gold, a can of metallic spray paint on the rails is a cheap fix, but test it on a scrap piece first.
DIY Tips and Tricks
Glue the joints before you stain anything. Wood glue won’t grip stained wood, so assemble every glued piece first and finish afterward.
Before any pocket hole gets drilled, match the Kreg jig’s depth setting and the drill bit’s stop collar to the thickness of your lumber, since a 2×4 and a 3/4-inch board need different settings.
A 2×4 is actually 1.5 inches thick, so set the jig for that, not for the nominal size.
Once the bed is together, fill the pocket holes with Kreg plugs or wood filler, then touch up the paint or stain for a clean look.
For the side rails, I like adding 5-inch lag screws on top of the pocket holes. Pocket holes are probably enough, but a bed that sleeps someone overhead deserves the extra insurance.
Do the sanding and finishing outdoors if you can, so the sawdust stays out of the house.
Time Commitment
Plan on several weeks, not a single weekend. The range depends on your skill level and how many hours you can actually give the project.
Split the build into stages: cutting, assembly, then finishing. Stopping at the end of a stage keeps a short work session from leaving you with half-fastened parts.
Finishing deserves its own time slot, since glue, stain and paint each need to dry before the next step. Build that waiting into your schedule so you aren’t tempted to rush the bed into use.
Tools Needed
The basic kit is a circular saw, a drill and a Kreg jig for pocket holes. A miter saw works in place of the circular saw if you have access to one, and it gives cleaner crosscuts.
For the nail gun, a pneumatic or cordless finish model both do the job. Pick whichever you can borrow or already own, since a cordless one saves you dragging a hose around.
If you’d rather not build every piece from scratch, start from a free plan and change only the parts you need.
One easy swap is two 2×4 rungs up to the deck in place of a full staircase, which saves floor space and cuts the cutting list.